
Thin Sliced Chicken Breast Recipes
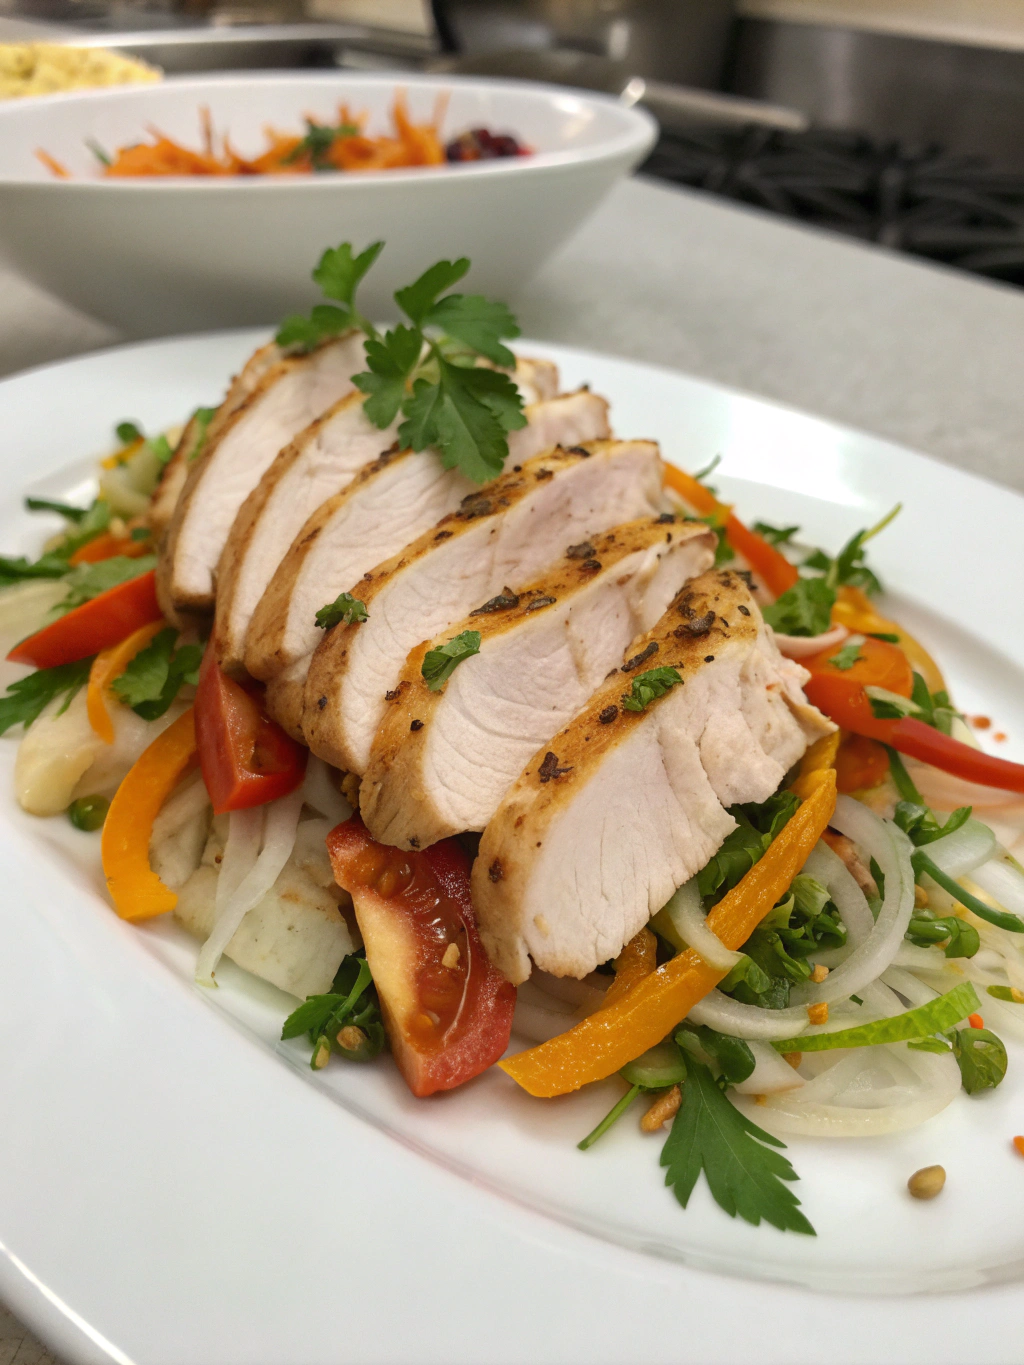
Have you ever wondered why your thin sliced chicken breast turns out dry and rubbery instead of tender and juicy? This common kitchen frustration affects countless home cooks who struggle to master the art of cooking delicate, thin-cut poultry. The good news is that perfecting thin sliced chicken breast recipes doesn’t require professional culinary training—just awareness of a few critical mistakes that can make or break your dish.
Thin sliced chicken breast offers incredible versatility, cooking quickly and absorbing flavors beautifully. However, its delicate nature demands specific techniques to achieve restaurant-quality results. In this comprehensive guide, we’ll explore the most common pitfalls that sabotage your chicken dishes and provide actionable solutions to ensure perfectly cooked, flavorful meals every time.
Whether you’re preparing a weeknight dinner or meal prepping for the week ahead, understanding these fundamental principles will transform your cooking. Let’s dive into the essential mistakes you need to avoid and discover how to create consistently delicious thin sliced chicken breast dishes that will impress your family and guests alike.
Table of Contents
Ingredients List
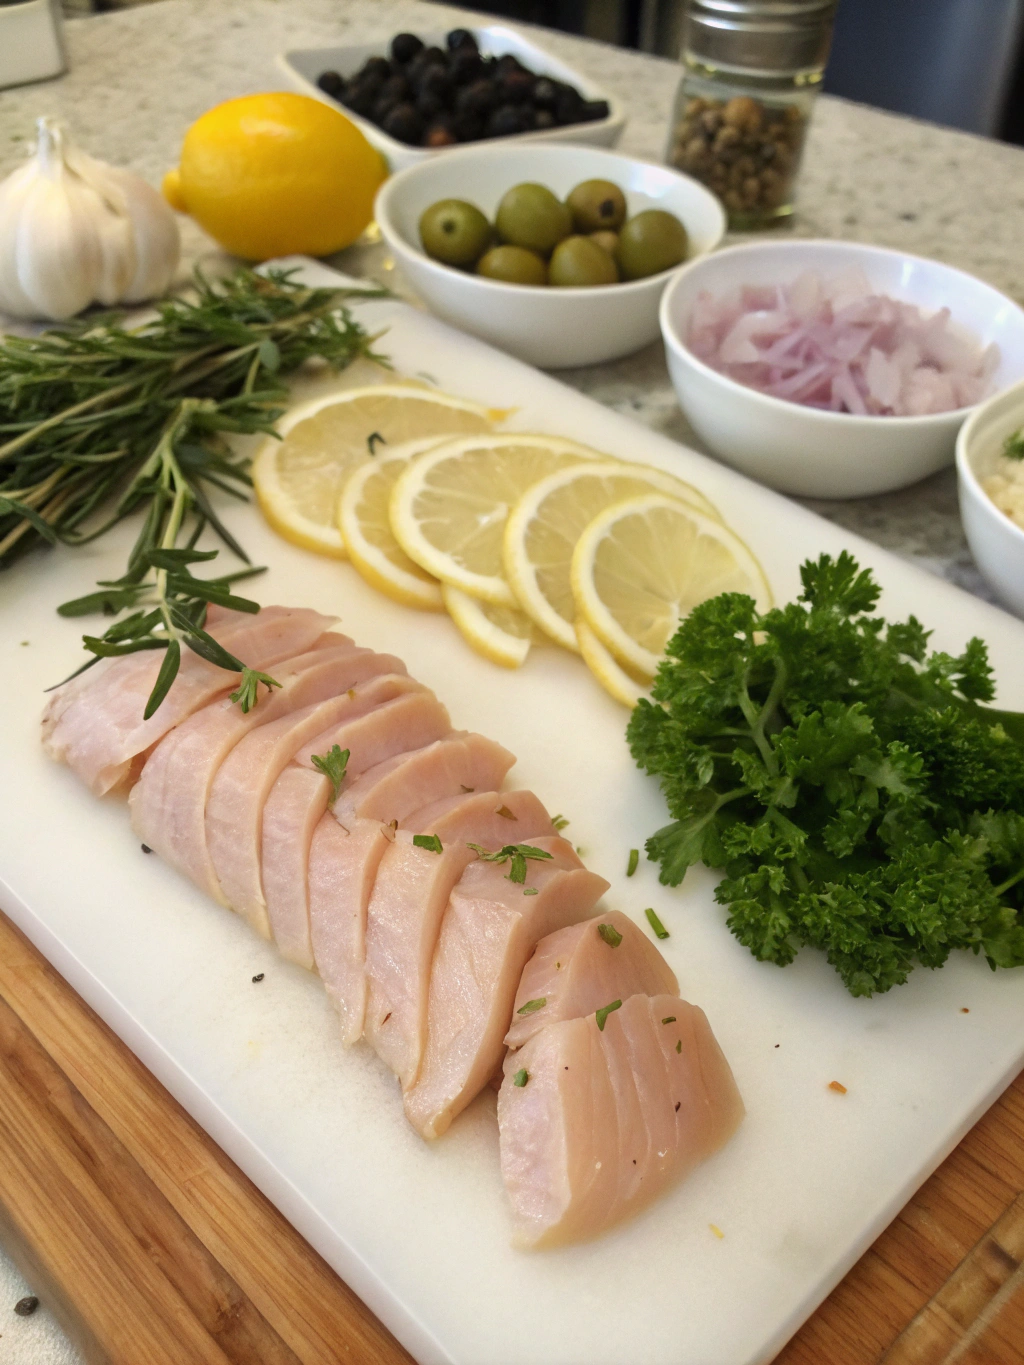
For a classic pan-seared thin sliced chicken breast that serves four people, you’ll need the following ingredients. Each component plays a crucial role in developing flavor and ensuring proper texture.
- 4 thin sliced chicken breasts (approximately 1/4 to 1/2 inch thick) – You can substitute with turkey cutlets for a similar result
- 2 tablespoons olive oil – Avocado oil or grapeseed oil work excellently as alternatives with higher smoke points
- 1 teaspoon salt – Sea salt or kosher salt provide better flavor distribution than table salt
- 1/2 teaspoon black pepper – Freshly ground pepper offers superior aromatic qualities
- 1 teaspoon garlic powder – Fresh minced garlic (2 cloves) can replace this for a more pungent flavor
- 1 teaspoon paprika – Smoked paprika adds a delightful depth, while cayenne pepper increases heat
- 1/2 teaspoon dried oregano – Italian seasoning or thyme make wonderful substitutions
- 2 tablespoons butter – For finishing and adding richness; ghee works for dairy-sensitive individuals
- 2 cloves fresh garlic – Minced, for the pan sauce
- 1/4 cup chicken broth – Vegetable broth or white wine serve as flavorful alternatives
- Fresh lemon juice – From half a lemon, brightens the entire dish
- Fresh parsley – For garnish and a pop of color
These ingredients create a foundation for countless variations. The beauty of working with thin chicken breast lies in its ability to adapt to virtually any cuisine—from Asian-inspired teriyaki to Mediterranean herb blends.
Timing
One of the greatest advantages of thin sliced chicken breast recipes is the remarkably short cooking time required. Understanding the timeline helps you plan efficiently and prevents overcooking.
Preparation Time: 10 minutes – This includes patting the chicken dry, seasoning, and gathering ingredients. This represents approximately 60% less prep time compared to working with whole chicken breasts that require pounding.
Cooking Time: 8-10 minutes – Thin cutlets cook rapidly, requiring only 3-4 minutes per side over medium-high heat. This is significantly faster than the 20-25 minutes needed for standard-thickness chicken breasts.
Resting Time: 3-5 minutes – This crucial step allows juices to redistribute throughout the meat, ensuring maximum tenderness and moisture retention.
Total Time: Approximately 25 minutes from start to finish. This efficiency makes thin sliced chicken breast an ideal choice for busy weeknights when time is precious but quality cannot be compromised.
Step-by-Step Instructions
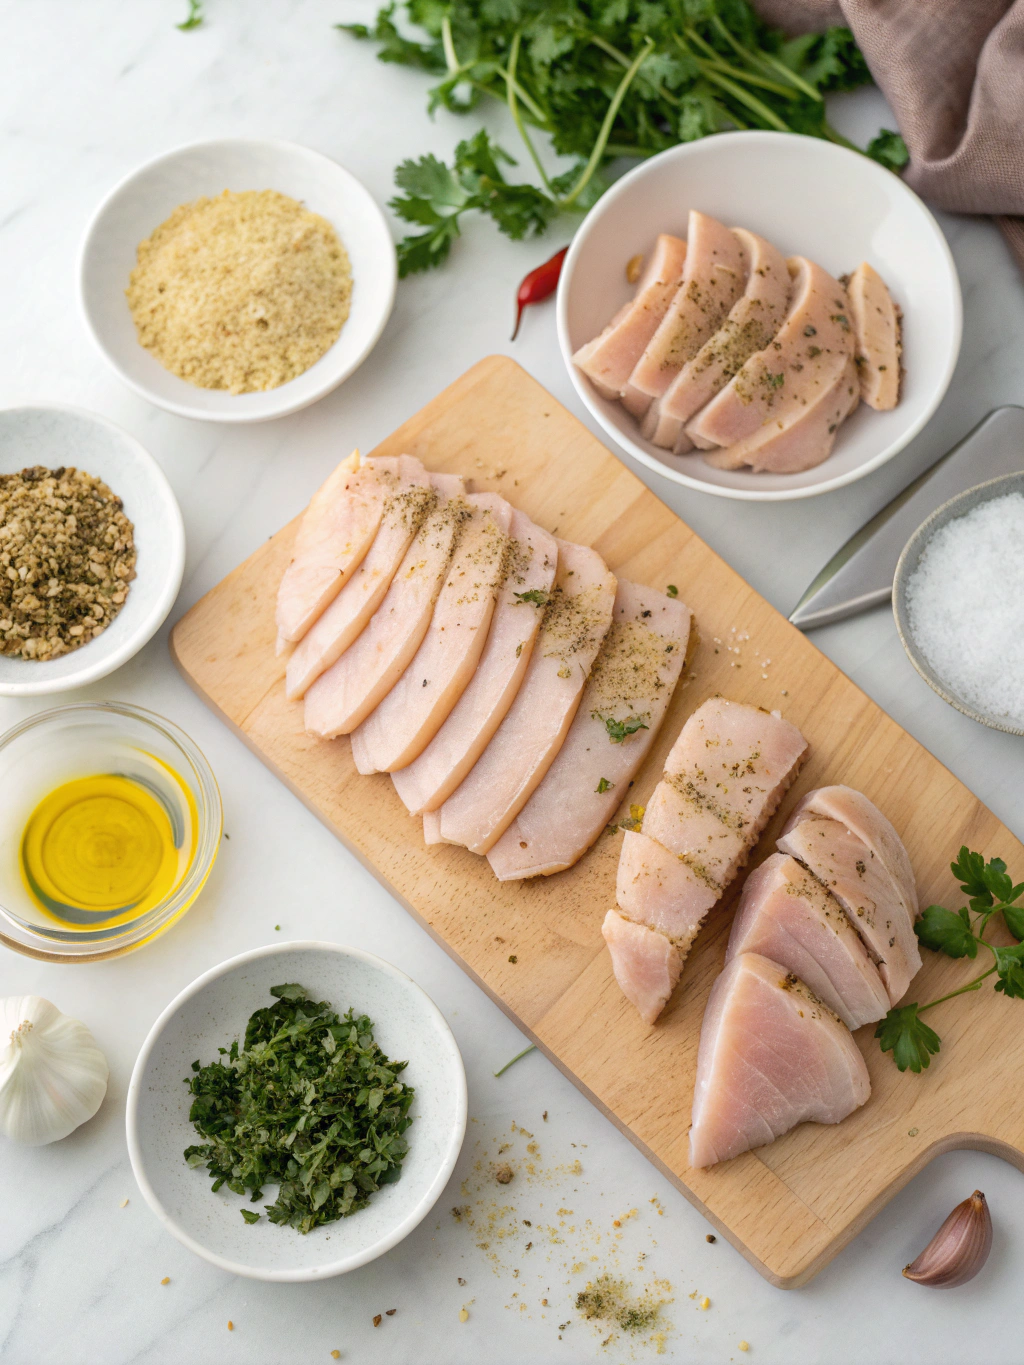
Step 1: Prepare the Chicken Properly
Remove the thin sliced chicken breasts from refrigeration 15-20 minutes before cooking. This allows them to reach closer to room temperature, promoting even cooking throughout. Pat each piece thoroughly dry with paper towels—excess moisture is the enemy of proper browning and creates steam instead of a beautiful sear.
Inspect each cutlet for uneven thickness. If some areas are noticeably thicker, gently pound them with a meat mallet between plastic wrap to ensure uniform thickness. This step prevents thinner sections from overcooking while thicker portions finish.
Step 2: Season Generously and Strategically
In a small bowl, combine salt, black pepper, garlic powder, paprika, and oregano. Mix these dry seasonings thoroughly to create a uniform blend. Season both sides of each chicken breast liberally—don’t be shy with your seasoning, as thin cuts have less surface area to absorb flavors.
Allow the seasoned chicken to rest for 5 minutes. This brief period lets the salt begin to penetrate the meat, enhancing flavor throughout rather than just on the surface. The salt also helps proteins retain moisture during cooking.
Step 3: Preheat Your Pan Correctly
Select a heavy-bottomed skillet, preferably stainless steel or cast iron, which retains heat better than thin pans. Place it over medium-high heat and allow it to preheat for 2-3 minutes. Add the olive oil and let it heat until it shimmers but doesn’t smoke.
Test the pan’s readiness by flicking a tiny drop of water into it—it should sizzle and evaporate immediately. Proper preheating ensures immediate searing, which locks in juices and creates that coveted golden-brown crust.
Step 4: Sear Without Disturbing
Carefully lay the chicken breasts in the hot pan, placing them away from you to prevent oil splatter. Avoid overcrowding—leave at least an inch between pieces. Overcrowding reduces pan temperature and causes steaming rather than searing.
Here’s the critical part: resist the urge to move, flip, or check the chicken for 3-4 minutes. This undisturbed time allows a proper crust to form. You’ll know it’s ready to flip when the edges turn opaque and the chicken releases easily from the pan without sticking.
Step 5: Flip and Finish Cooking
Using tongs, flip each piece gently. The cooked side should display a beautiful golden-brown color. Cook the second side for an additional 3-4 minutes. Thin sliced chicken cooks remarkably fast, so watch carefully to prevent overcooking.
Use an instant-read thermometer to check the internal temperature, which should reach 165°F (74°C) at the thickest part. Remember that carryover cooking will add another 3-5 degrees after removal from heat, so you can pull the chicken at 160°F if preferred.
Step 6: Create a Quick Pan Sauce
Transfer the cooked chicken to a plate and tent loosely with foil. In the same pan with the flavorful browned bits (fond), reduce heat to medium and add butter. Once melted, add minced fresh garlic and sauté for 30 seconds until fragrant.
Pour in the chicken broth and lemon juice, scraping the pan bottom with a wooden spoon to release all those caramelized bits. Let the sauce simmer for 2 minutes until slightly reduced. This simple pan sauce elevates the dish from ordinary to extraordinary.
Step 7: Rest and Serve
Return the chicken to the pan briefly, spooning the sauce over each piece to coat. Remove from heat and let rest for 3-5 minutes before serving. This resting period is non-negotiable—cutting immediately causes precious juices to run out onto the plate instead of staying in the meat.
Garnish with freshly chopped parsley and an extra squeeze of lemon if desired. The vibrant green herbs and bright citrus provide visual appeal and fresh flavor contrast to the rich, savory chicken.
Nutritional Information
Understanding the nutritional profile of thin sliced chicken breast helps you make informed dietary decisions. Per serving (one chicken breast prepared as described above), you’ll find approximately:
Calories: 245 calories – This represents a moderate caloric investment that provides substantial satiety. Compared to fried chicken breast, this preparation method saves approximately 150-200 calories per serving.
Protein: 35 grams – Chicken breast is renowned for its high-quality, complete protein content, providing all essential amino acids. This amount represents roughly 70% of the daily protein requirement for an average adult.
Fat: 11 grams (with 3 grams saturated) – The fat content comes primarily from the cooking oil and butter. Using olive oil provides heart-healthy monounsaturated fats and beneficial antioxidants.
Carbohydrates: 2 grams – Minimal carbs make this an excellent choice for low-carb and ketogenic diets. The trace carbohydrates come from the seasonings and garlic.
Sodium: 650 milligrams – This accounts for approximately 28% of the recommended daily intake. You can reduce this by using less salt or opting for a low-sodium broth.
Key Vitamins and Minerals: Chicken breast provides significant amounts of B vitamins (particularly niacin and B6), selenium, and phosphorus. These nutrients support energy metabolism, immune function, and bone health.
Healthier Alternatives for the Recipe
While the basic recipe is already relatively healthy, several modifications can enhance its nutritional profile without sacrificing flavor. These alternatives accommodate various dietary preferences and health goals.
Reduce Added Fats: Use a non-stick pan with cooking spray instead of oil, saving approximately 100 calories per serving. Alternatively, reduce the butter to one tablespoon or eliminate it entirely, relying on the pan sauce’s natural flavors.
Increase Vegetable Content: Add sliced mushrooms, spinach, or cherry tomatoes to the pan sauce. This boosts fiber, vitamins, and minerals while adding volume and visual appeal without significantly increasing calories.
Experiment with Herbs: Replace half the salt with fresh or dried herbs like rosemary, basil, or cilantro. This maintains robust flavor while reducing sodium content by up to 50%.
Try Different Cooking Methods: For an even lighter preparation, try baking thin sliced chicken breast recipes in the oven at 400°F for 12-15 minutes. This method requires minimal added fat while producing tender, juicy results.
Boost Omega-3s: Substitute some of the olive oil with walnut oil or finish the dish with a drizzle of flaxseed oil. These oils provide anti-inflammatory omega-3 fatty acids that support heart and brain health.
Make it Dairy-Free: Replace butter with additional olive oil or coconut oil. Coconut oil adds a subtle sweetness that pairs beautifully with Asian-inspired seasonings like ginger and sesame.
Serving Suggestions
The versatility of perfectly cooked thin sliced chicken breast opens endless serving possibilities. These suggestions transform a simple protein into complete, satisfying meals that appeal to diverse palates.
Classic Dinner Plate: Serve alongside roasted vegetables like Brussels sprouts, carrots, and sweet potatoes. Add a portion of quinoa or wild rice for a balanced, nutrient-dense meal that provides complex carbohydrates and additional fiber.
Fresh Salad Topper: Slice the cooked chicken and arrange it over mixed greens with cherry tomatoes, cucumber, avocado, and a light vinaigrette. This creates a protein-rich salad that’s substantial enough for lunch or a light dinner.
Sandwich or Wrap Star: Layer the chicken in a whole grain wrap with hummus, roasted red peppers, arugula, and feta cheese. This portable option works perfectly for meal prep or packed lunches.
Pasta Partner: Toss with whole wheat pasta, olive oil, sun-dried tomatoes, and fresh basil for a Mediterranean-inspired dish. The chicken’s mild flavor complements bold pasta sauces without overwhelming them.
Grain Bowl Foundation: Create a nourishing bowl with farro or brown rice, roasted vegetables, pickled onions, and a tahini drizzle. This trendy presentation appeals to health-conscious diners and provides excellent textural variety.
Taco Tuesday Transformation: Slice the chicken and serve in corn tortillas with cabbage slaw, cilantro, lime, and your favorite salsa. This lighter take on tacos delivers authentic flavor with less saturated fat than traditional preparations.
Common Mistakes to Avoid
Even experienced cooks sometimes struggle with thin sliced chicken breast recipes. Understanding these frequent errors helps you achieve consistent, professional-quality results every time you cook.
- Mistake #1: Cooking Straight from the Refrigerator – Cold chicken doesn’t cook evenly. The exterior overcooks and dries out while the center struggles to reach safe temperatures. Always allow chicken to sit at room temperature for 15-20 minutes before cooking. This simple step promotes uniform cooking and better texture throughout.
- Mistake #2: Skipping the Drying Step – Moisture on the chicken’s surface creates steam instead of a sear, resulting in pale, rubbery texture rather than a golden crust. Studies show that properly dried proteins brown 40% more effectively. Pat chicken thoroughly dry with paper towels before seasoning for optimal browning and flavor development.
- Mistake #3: Using Insufficient Heat – Cooking over medium or low heat extends cooking time unnecessarily, drying out the delicate meat. Medium-high heat creates rapid surface caramelization while keeping the interior juicy. Your pan should be hot enough that the chicken sizzles immediately upon contact.
- Mistake #4: Constantly Moving or Flipping the Chicken – Patience is crucial