
1 Crust Pie Recipe
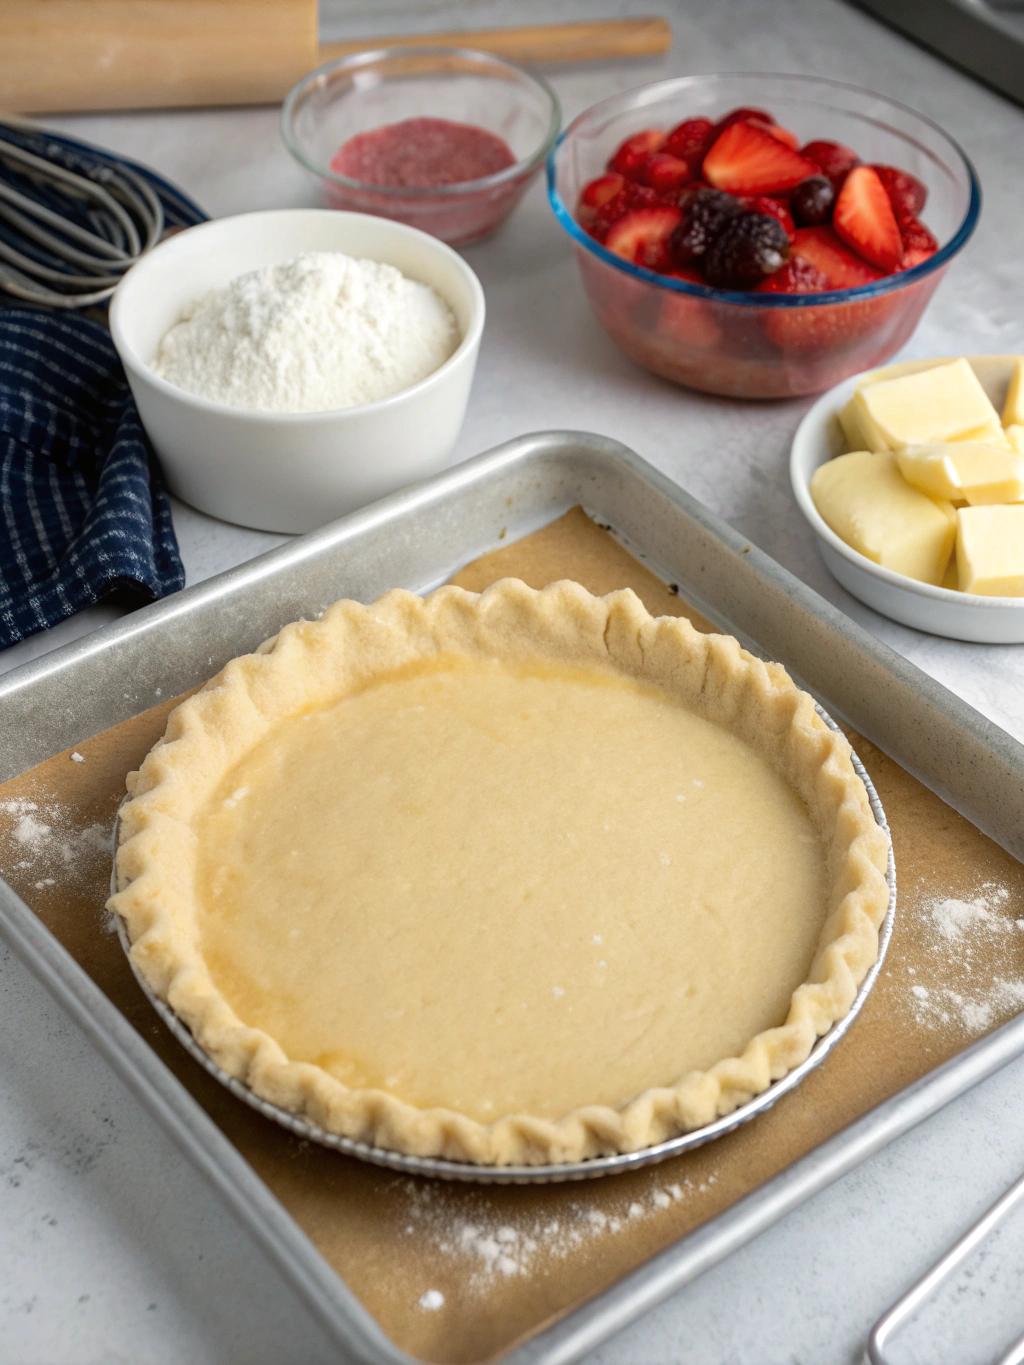
Have you ever wondered why some pies require a double crust when a single, perfectly crafted base can deliver all the flavor and texture you need? If you’re searching for a simple yet impressive dessert solution, this 1 crust pie recipe is your answer. Whether you’re a beginner baker or an experienced home chef, mastering the art of single-crust pies opens up a world of delicious possibilities, from classic fruit fillings to creamy custards that never fail to impress.
Single-crust pies are celebrated for their versatility and ease of preparation. They require less dough, less time, and offer endless customization options. This comprehensive guide will walk you through everything you need to know about creating the perfect one-crust pie, from selecting ingredients to avoiding common pitfalls.
Table of Contents
Ingredients List
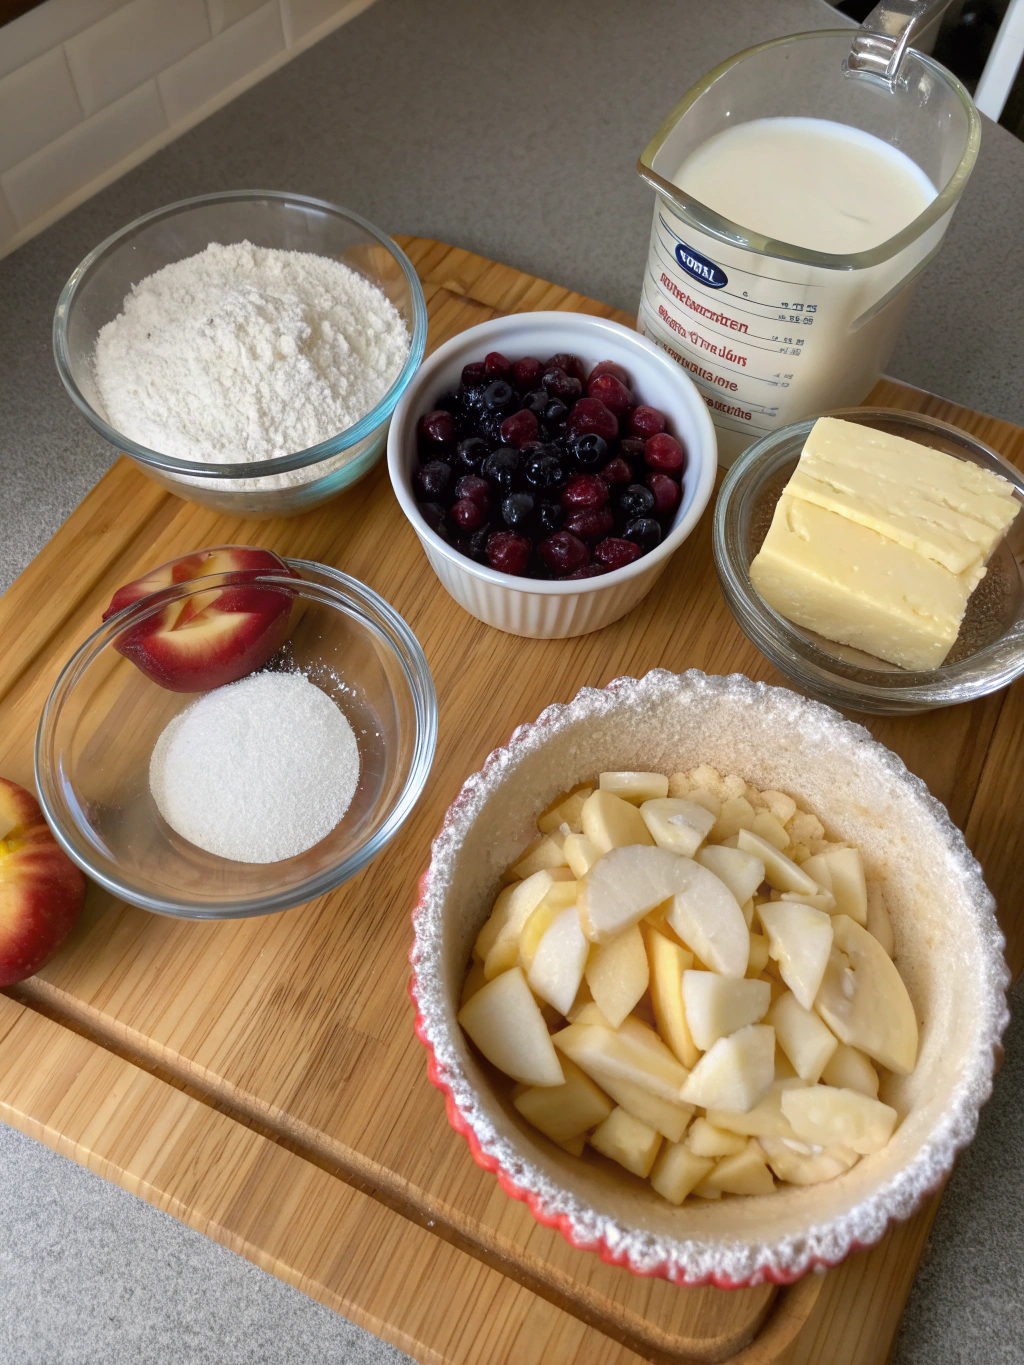
Creating an exceptional single-crust pie starts with quality ingredients. Here’s what you’ll need for both the crust and a classic apple filling:
For the Pie Crust:
- 1¼ cups all-purpose flour (substitute with whole wheat flour for added fiber, or use a gluten-free blend for dietary restrictions)
- ½ teaspoon salt (enhances the buttery flavor and balances sweetness)
- ½ cup cold unsalted butter, cut into small cubes (can substitute with cold shortening or coconut oil for a dairy-free option)
- 3-4 tablespoons ice water (the key to a flaky texture; add gradually)
- 1 tablespoon sugar (optional, for a slightly sweet crust)
For the Apple Filling:
- 6 cups thinly sliced apples (Granny Smith or Honeycrisp work beautifully; about 6-7 medium apples)
- ¾ cup granulated sugar (adjust based on apple sweetness; can substitute with coconut sugar or honey)
- 2 tablespoons all-purpose flour (helps thicken the juices; cornstarch works as an alternative)
- 1 teaspoon ground cinnamon (adds warmth and depth)
- ¼ teaspoon nutmeg (freshly grated provides the best aroma)
- 1 tablespoon lemon juice (prevents browning and adds brightness)
- 2 tablespoons butter, cut into small pieces (dots the filling for richness)
These ingredients create a harmonious balance of buttery, flaky crust and sweet, spiced filling. The beauty of this 1 crust pie recipe lies in its adaptability—swap apples for berries, peaches, or even a savory quiche filling.
Timing
Understanding the time commitment helps you plan your baking session effectively. Here’s the complete breakdown:
Preparation Time: 20 minutes (includes making the dough and preparing the filling)
Chilling Time: 30 minutes (essential for achieving a flaky crust; this step cannot be rushed)
Baking Time: 45-50 minutes (until the crust is golden and filling is bubbling)
Total Time: Approximately 1 hour 40 minutes
Compared to double-crust pies that often require 2+ hours, this recipe saves you roughly 25% of your time while delivering equally impressive results. The chilling period is crucial—it allows gluten to relax and butter to firm up, ensuring maximum flakiness.
Step-by-Step Instructions
Step 1: Prepare the Pie Dough
In a large mixing bowl, whisk together the flour, salt, and sugar until evenly combined. Add the cold butter cubes and use a pastry cutter or your fingertips to work the butter into the flour. The mixture should resemble coarse crumbs with pea-sized butter pieces visible throughout.
Drizzle 3 tablespoons of ice water over the mixture and gently mix with a fork. Add more water, one teaspoon at a time, until the dough just begins to hold together when pressed. Avoid overworking the dough, as this develops gluten and creates a tough crust.
Step 2: Chill the Dough
Shape the dough into a flat disk, wrap it tightly in plastic wrap, and refrigerate for at least 30 minutes. This resting period is non-negotiable for achieving the perfect texture. If you’re short on time, 30 minutes is the minimum, but overnight chilling produces even better results.
Step 3: Roll Out the Crust
On a lightly floured surface, roll the chilled dough into a 12-inch circle, about ⅛-inch thick. Work from the center outward, rotating the dough frequently to maintain an even thickness. Carefully transfer the dough to a 9-inch pie plate by rolling it around your rolling pin and unrolling it over the plate.
Gently press the dough into the bottom and sides of the plate without stretching it. Trim the excess dough, leaving about 1 inch of overhang. Fold this overhang under itself and crimp the edges using your fingers or a fork for a decorative finish.
Step 4: Prepare the Filling
In a large bowl, combine the sliced apples, sugar, flour, cinnamon, nutmeg, and lemon juice. Toss gently until the apples are evenly coated. Let this mixture sit for 5-10 minutes, allowing the sugar to draw out some of the apple juices and create a natural syrup.
Step 5: Assemble the Pie
Preheat your oven to 375°F (190°C). Pour the apple filling into the prepared crust, arranging the slices in an even layer. Dot the top with small pieces of butter, which will melt during baking and create a luscious, glossy filling.
For extra protection against a soggy bottom, you can brush the crust with a beaten egg white before adding the filling. This creates a moisture barrier that keeps the crust crisp.
Step 6: Bake to Perfection
Place the pie on the center rack of your preheated oven. Bake for 45-50 minutes, or until the crust is golden brown and the filling is bubbling vigorously. If the edges brown too quickly, cover them with aluminum foil or a pie shield after 25-30 minutes.
The pie is done when you can see thick bubbles breaking through the filling and the crust has achieved a rich, golden color. Allow the pie to cool on a wire rack for at least 2 hours before slicing. This cooling period allows the filling to set properly.
Nutritional Information
Understanding the nutritional profile of your 1 crust pie recipe helps you make informed dietary choices. Here’s the approximate breakdown per serving (based on 8 servings):
Calories: 320 per slice
Total Fat: 14g (18% of daily value), with 9g saturated fat
Cholesterol: 35mg
Sodium: 180mg
Total Carbohydrates: 48g (16% of daily value)
Dietary Fiber: 3g (11% of daily value)
Sugars: 26g
Protein: 3g
Apples provide valuable dietary fiber, vitamin C, and antioxidants. The crust contributes most of the fat content, primarily from butter. Compared to double-crust pies, this recipe contains approximately 30% fewer calories and 40% less fat per serving, making it a lighter dessert option.
Healthier Alternatives for the Recipe
Transforming this classic recipe into a healthier version doesn’t mean sacrificing flavor. Here are several modifications that enhance nutritional value:
Reduce Sugar: Cut the sugar in the filling by one-third and add a touch of vanilla extract or almond extract to enhance perceived sweetness without added calories.
Whole Grain Crust: Replace half the all-purpose flour with whole wheat pastry flour for added fiber and nutrients. This substitution maintains tenderness while boosting nutritional content.
Healthy Fats: Substitute half the butter with Greek yogurt or mashed avocado in the crust. This reduces saturated fat while adding protein and healthy monounsaturated fats.
Natural Sweeteners: Use maple syrup, honey, or coconut sugar instead of refined white sugar. These alternatives provide trace minerals and have a lower glycemic index.
Increase Fruit Ratio: Add an extra cup of apples and reduce sugar proportionally. More fruit means more fiber, vitamins, and natural sweetness.
Nut-Based Crust: For a grain-free option, create a crust using almond flour, coconut oil, and a touch of honey. This provides healthy fats and protein while accommodating gluten-free diets.
Serving Suggestions
Presentation elevates any dessert from ordinary to extraordinary. This 1 crust pie recipe pairs beautifully with various accompaniments:
Classic Pairing: Serve warm slices with a scoop of vanilla ice cream or a dollop of freshly whipped cream. The temperature contrast creates a delightful sensory experience.
Elevated Option: Top with salted caramel sauce and toasted pecans for a gourmet presentation that impresses dinner guests.
Breakfast Twist: Enjoy a slice with your morning coffee alongside a serving of Greek yogurt for a balanced breakfast treat.
Cheese Complement: Sharp cheddar cheese pairs surprisingly well with apple pie. Serve thin slices of aged cheddar on the side for a sweet-savory combination.
Seasonal Variation: During fall, add a drizzle of spiced rum sauce. In summer, serve with fresh mint leaves and a berry compote.
Individual Portions: Cut the pie into wedges and plate with a dusting of powdered sugar and a cinnamon stick for an Instagram-worthy presentation.
Common Mistakes to Avoid
Even experienced bakers encounter challenges. Here are the most frequent pitfalls and how to prevent them:
- Using Warm Butter: Room temperature butter creates a mealy, tough crust instead of flaky layers. Always use cold butter straight from the refrigerator, and work quickly to prevent it from warming up.
- Overworking the Dough: Excessive mixing develops gluten, resulting in a tough, chewy crust. Mix just until the dough comes together, with visible butter pieces remaining.
- Skipping the Chill Time: Rushing this step leads to shrinkage during baking and a less flaky texture. Plan ahead and allow proper refrigeration time.
- Rolling Dough Too Thin: An overly thin crust becomes crispy rather than flaky and may tear during transfer. Aim for consistent ⅛-inch thickness throughout.
- Soggy Bottom Crust: Excess moisture from the filling can create a soggy crust. Pre-bake (blind bake) the crust for 10 minutes if using particularly juicy fruits, or brush with egg white before filling.
- Not Venting Properly: While single-crust pies are open-topped, ensuring the filling can bubble and release steam prevents overflow. Don’t overfill the crust.
- Cutting Too Soon: Slicing into a warm pie causes the filling to run. Patience is essential—wait at least 2 hours for proper setting.
Storing Tips for the Recipe
Proper storage maintains freshness and flavor for days after baking. Follow these guidelines for optimal results:
Room Temperature Storage: Once completely cooled, cover the pie loosely with aluminum foil or plastic wrap. It will keep at room temperature for up to 2 days. Avoid airtight containers, which trap moisture and soften the crust.
Refrigeration: For longer storage, refrigerate the covered pie for up to 5 days. The crust may soften slightly, but you can restore crispness by reheating individual slices in a 350°F oven for 10 minutes.
Freezing: This pie freezes beautifully for up to 3 months. Wrap tightly in plastic wrap, then aluminum foil, and place in a freezer-safe bag. Thaw overnight in the refrigerator before serving.
Freezing Unbaked: Assemble the pie completely but don’t bake it. Freeze solid, then wrap securely. Bake directly from frozen, adding 15-20 minutes to the baking time.
Crust Storage: Unbaked pie dough can be refrigerated for 3 days or frozen for up to 3 months. Thaw frozen dough overnight in the refrigerator before rolling.
Reheating Tips: Individual slices reheat best in a 350°F oven for 10-15 minutes, which restores the crust’s crispness. Microwave reheating is faster but creates a softer texture.
Conclusion
Mastering this versatile 1 crust pie recipe empowers you to create impressive desserts with minimal effort and maximum flavor. From the buttery, flaky crust to the perfectly spiced filling, every element works together to deliver a