
How to Make Onion Rings
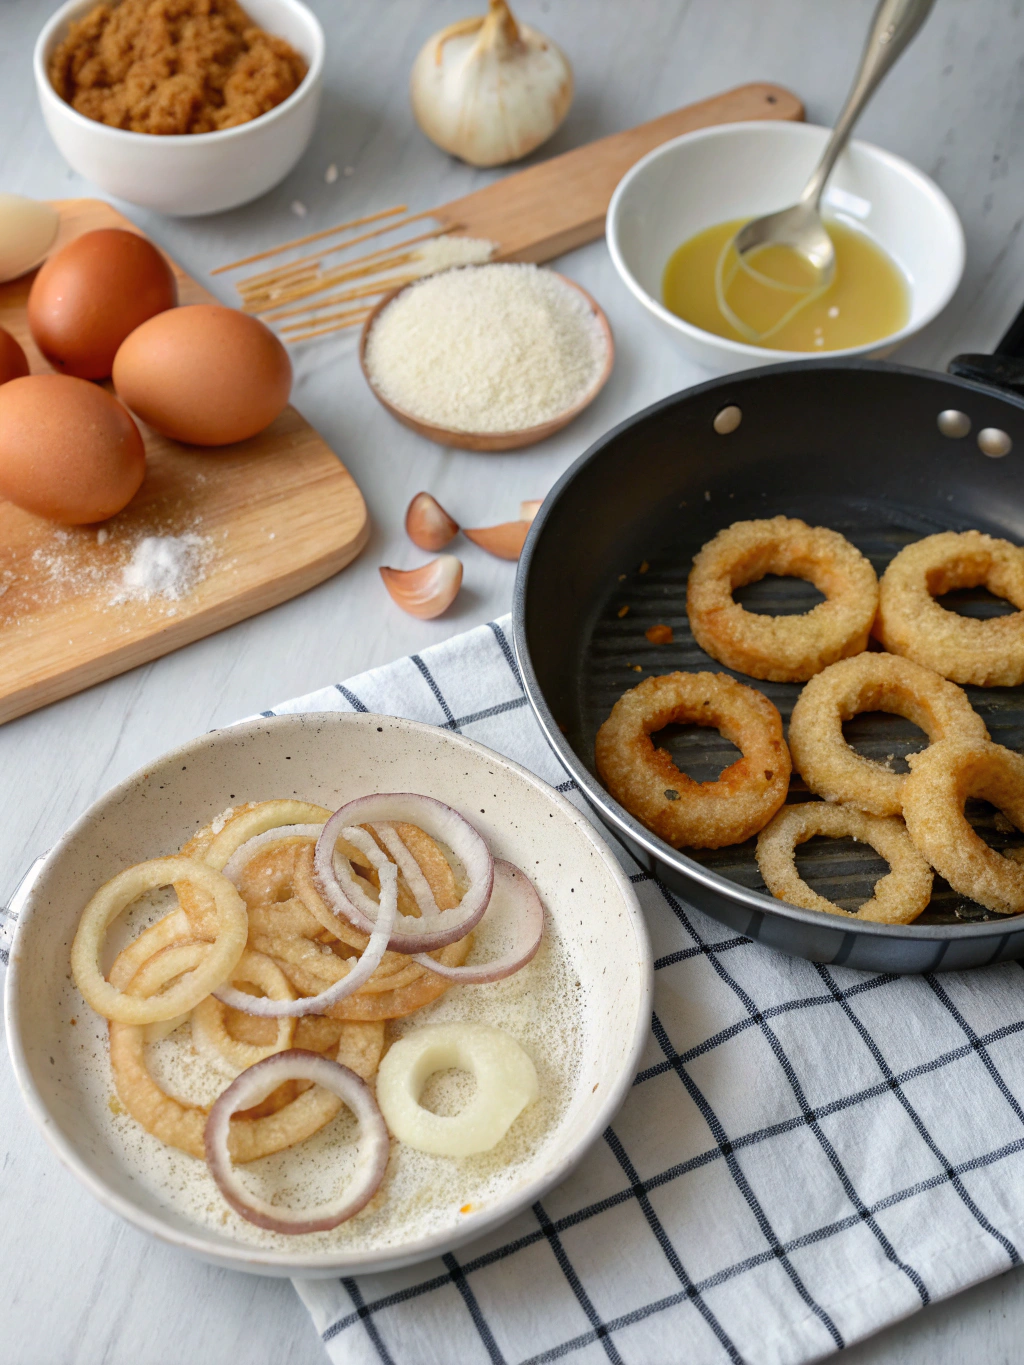
How to Make Onion Rings – Crispy & Golden Onion Rings Recipe in 5 Easy Steps
Have you ever wondered why restaurant onion rings taste so much better than homemade versions? The secret isn’t just in the recipe—it’s in the technique. Learning how to make onion rings that rival your favorite restaurant’s crispy, golden perfection is easier than you think.
With the right combination of ingredients and proper frying technique, you can create restaurant-quality onion rings in your own kitchen. This comprehensive guide will walk you through every step, ensuring crispy exteriors and tender, sweet onion interiors every single time.
Whether you’re preparing a game-day snack, a side dish for burgers, or just craving something deliciously indulgent, this onion rings recipe delivers consistent, crowd-pleasing results. The best part? You only need five simple steps and ingredients you likely already have in your pantry.
Table of Contents
Ingredients List
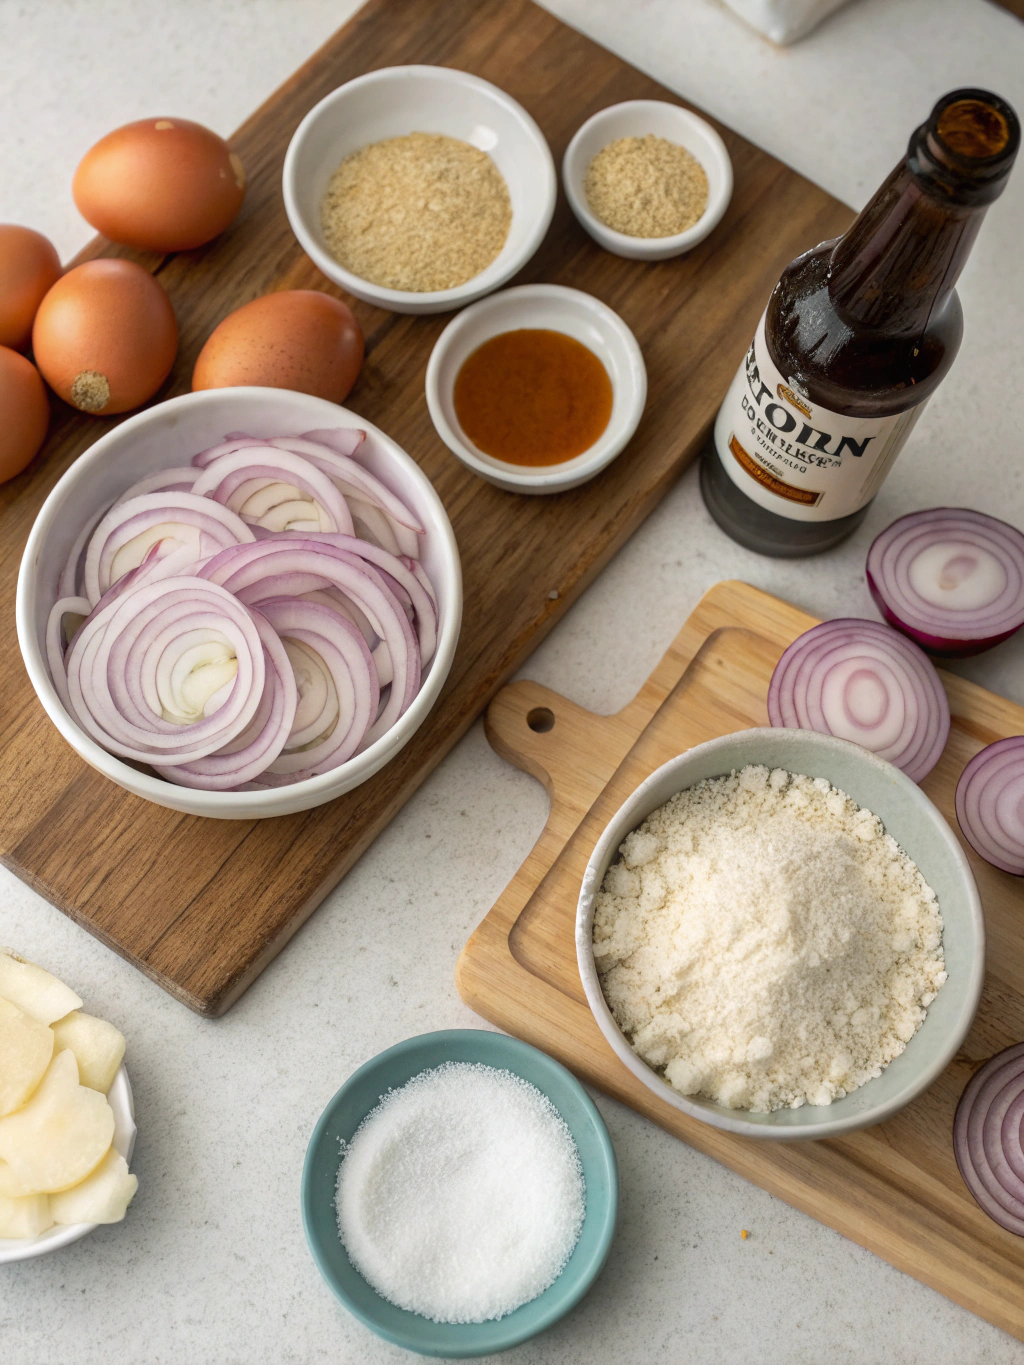
Gathering the right ingredients is crucial for achieving that perfect crispy coating and sweet onion flavor. Here’s everything you’ll need to create approximately 4-6 servings of golden, restaurant-quality onion rings:
- 2 large sweet onions (Vidalia or Walla Walla work best for their mild, sweet flavor; yellow onions are a suitable substitute)
- 2 cups buttermilk (creates tender onions and helps the coating adhere; substitute with 2 cups milk mixed with 2 tablespoons lemon juice)
- 1½ cups all-purpose flour (for the base coating; can substitute with gluten-free flour blend)
- 1 cup breadcrumbs (panko breadcrumbs create extra crunch; regular breadcrumbs work too)
- 2 large eggs (beaten, acts as the binding agent)
- 1 teaspoon garlic powder (adds savory depth)
- 1 teaspoon paprika (provides subtle smokiness and color)
- 1 teaspoon cayenne pepper (optional, for heat; adjust to taste)
- 2 teaspoons salt (divided between coating and seasoning)
- 1 teaspoon black pepper (freshly ground preferred)
- Vegetable oil for frying (about 6-8 cups; peanut or canola oil work excellently due to high smoke points)
The key to exceptional onion rings lies in using sweet onions with thick rings. Avoid red onions as they can become bitter when fried. Fresh ingredients make a noticeable difference in both flavor and texture.
Timing
Understanding the time commitment helps you plan accordingly. Here’s the complete breakdown for this recipe:
Preparation Time: 20 minutes (includes slicing onions, setting up breading station, and preparing ingredients)
Soaking Time: 30 minutes (allows buttermilk to tenderize onions and enhance flavor absorption)
Cooking Time: 15-20 minutes (depending on batch size and maintaining proper oil temperature)
Total Time: Approximately 65-70 minutes from start to finish
This timing represents about 25% less active cooking time than traditional double-battered methods, while still delivering superior crispiness. The soaking step, though passive, is essential for achieving tender onions with maximum flavor.
Step-by-Step Instructions
Step 1: Prepare and Soak the Onions
Begin by peeling your onions and slicing them into ½-inch thick rounds. Thicker rings hold up better during frying and provide a better onion-to-coating ratio. Carefully separate the rounds into individual rings, discarding the tiny center pieces or saving them for another use.
Place all onion rings in a large bowl and pour the buttermilk over them, ensuring complete coverage. Cover the bowl and refrigerate for at least 30 minutes, or up to 2 hours for maximum tenderness. This soaking process breaks down the onion’s sharp compounds, resulting in sweeter, more mellow flavor.
The buttermilk also helps the breading adhere better, creating that coveted crispy exterior. Don’t skip this step—it’s the foundation of restaurant-quality results when you how to make onion rings.
Step 2: Set Up Your Breading Station
While the onions soak, prepare your three-stage breading station. This assembly-line approach ensures efficient coating and consistent results. Arrange three shallow dishes or bowls in a row on your counter.
In the first bowl, combine 1 cup of flour with 1 teaspoon salt and ½ teaspoon black pepper. In the second bowl, beat the eggs until well combined. In the third bowl, mix the remaining ½ cup flour, breadcrumbs, garlic powder, paprika, cayenne pepper (if using), remaining salt, and black pepper.
This setup allows you to work quickly once you start coating. Keep a clean plate nearby for the breaded rings. Having everything organized before you begin prevents the coating from becoming gummy or uneven.
Step 3: Coat the Onion Rings
Remove onion rings from the buttermilk, allowing excess to drip off but keeping them slightly moist. Working with one ring at a time, dredge it in the seasoned flour, coating completely and shaking off excess.
Next, dip the floured ring into the beaten eggs, ensuring full coverage. Finally, press the ring into the breadcrumb mixture, coating both sides generously. Press firmly to help the coating adhere.
Place each coated ring on your prepared plate without stacking them. Stacking causes the coating to stick together and creates uneven frying. This process might seem tedious, but proper coating is essential for achieving that signature crunch.
For extra-crispy results, some cooks prefer a double-dip method: after the breadcrumb coating, dip back in egg and breadcrumbs once more. This creates an even thicker, crunchier crust.
Step 4: Heat the Oil to Perfect Temperature
Pour oil into a heavy-bottomed pot or deep fryer to a depth of at least 3 inches. Heat over medium-high heat until the oil reaches 375°F (190°C). Use a deep-fry or candy thermometer to monitor temperature accurately.
Maintaining proper oil temperature is critical when learning how to make onion rings. Too cool, and your rings absorb excess oil, becoming greasy. Too hot, and the coating burns before the onion cooks through.
Test the oil by dropping in a small piece of bread—it should sizzle immediately and turn golden in about 60 seconds. If you don’t have a thermometer, this bread test is a reliable alternative.
Never fill the pot more than halfway with oil to prevent dangerous overflow when adding food. Always keep a lid nearby in case of oil splatters.
Step 5: Fry to Golden Perfection
Carefully lower 4-6 onion rings into the hot oil using a slotted spoon or spider strainer. Don’t overcrowd the pot—this drops the oil temperature and results in soggy rings. Fry in batches for best results.
Cook for 2-3 minutes, flipping halfway through, until both sides are deep golden brown and crispy. The onions inside should be tender and translucent. Remove with a slotted spoon and transfer to a wire rack set over a baking sheet.
Never drain on paper towels—they trap steam underneath, making the bottom coating soggy. A wire rack allows air circulation on all sides, maintaining crispiness. Season immediately with a light sprinkle of salt while still hot.
Allow the oil to return to 375°F between batches. This usually takes 1-2 minutes. Consistent temperature ensures every batch comes out equally crispy and golden.
Nutritional Information
Understanding the nutritional content helps you make informed decisions about portion sizes and frequency of enjoyment. Per serving (approximately 6-8 rings), this recipe provides:
Calories: 285-320 calories (depending on oil absorption and ring size)
Total Fat: 14-18g (primarily from frying oil; varies based on frying technique and oil temperature)
Saturated Fat: 2-3g
Cholesterol: 65-75mg (from eggs in the coating)
Sodium: 480-520mg (can be reduced by using less salt in coating)
Total Carbohydrates: 32-36g (from flour, breadcrumbs, and natural onion sugars)
Dietary Fiber: 2-3g (onions provide beneficial fiber)
Protein: 7-9g (from eggs and buttermilk)
Vitamin C: 8-10% of daily value (onions are surprisingly good sources)
While onion rings are undeniably an indulgent treat, onions themselves offer quercetin, a powerful antioxidant with anti-inflammatory properties. The buttermilk provides calcium and probiotics, though these benefits are modest given the serving size.
Proper frying technique at the correct temperature actually reduces oil absorption by approximately 30% compared to low-temperature frying, according to culinary research data.
Healthier Alternatives for the Recipe
You can modify this recipe to align with various dietary preferences without sacrificing too much flavor or texture. Here are several effective alternatives:
Baked Onion Rings: Arrange coated rings on a parchment-lined baking sheet, spray lightly with cooking oil, and bake at 450°F for 15-18 minutes, flipping halfway. This reduces fat content by approximately 60-70%.
Air Fryer Method: Cook at 400°F for 10-12 minutes, shaking the basket halfway through. This method uses 75% less oil while maintaining impressive crispiness.
Whole Wheat Coating: Substitute half the all-purpose flour with whole wheat flour to increase fiber content by 40%. The texture remains acceptably crispy with added nutritional benefits.
Gluten-Free Version: Use gluten-free flour blend and gluten-free breadcrumbs or crushed cornflakes. The results are nearly indistinguishable from traditional versions.
Reduced-Sodium Option: Cut the salt in half and compensate with additional garlic powder, onion powder, or herbs like dried thyme or oregano for flavor complexity.
Egg-Free Coating: Replace eggs with aquafaba (chickpea liquid) or a mixture of 3 tablespoons ground flaxseed with 9 tablespoons water. Both alternatives provide adequate binding properties.
Serving Suggestions
The versatility of crispy onion rings makes them suitable for numerous serving occasions. Here are creative ways to present and enjoy them:
Serve immediately as an appetizer with a variety of dipping sauces: classic ketchup, tangy ranch dressing, spicy chipotle mayo, zesty comeback sauce, or smoky barbecue sauce. Offering multiple options lets guests customize their experience.
Pair with burgers or sandwiches as a classic side dish. Consider stacking a few rings directly on burgers for added texture and flavor. They complement beef, turkey, veggie, and chicken burgers equally well.
Create an onion ring tower by stacking rings of decreasing sizes on a vertical skewer, creating an impressive presentation for parties or gatherings. Place dipping sauce in a small bowl at the base.
Incorporate into a loaded appetizer platter alongside mozzarella sticks, chicken wings, and potato skins for game-day entertaining. This variety ensures something for everyone.
Top salads with broken onion ring pieces for an unexpected crunch element. They work particularly well on steakhouse-style wedge salads or Caesar salads.
Serve alongside grilled steaks, chicken, or fish as an elevated side dish that’s more interesting than standard fries. The sweet onion flavor complements savory proteins beautifully.
Common Mistakes to Avoid
Even experienced cooks can encounter challenges when preparing onion rings. Here are the most frequent pitfalls and how to prevent them:
- Skipping the buttermilk soak: This step tenderizes onions and helps coating adherence. Without it, you’ll have harsh-tasting onions with coating that falls off easily.
- Incorrect oil temperature: Oil that’s too cool creates greasy, soggy rings. Too hot burns the coating before cooking the onion. Always use a thermometer and maintain 375°F consistently.
- Overcrowding the pot: Adding too many rings at once dramatically drops oil temperature, resulting in uneven cooking and oil absorption. Fry in small batches of 4-6 rings maximum.
- Using the wrong onion variety: Sharp, pungent onions like red or white varieties can taste bitter when fried. Sweet onions provide the best flavor profile for this application.
- Cutting rings too thin: Thin rings (under ⅜-inch) cook too quickly, often burning the coating before the onion softens. Aim for ½-inch thickness for optimal results.
- Draining on paper towels: This traps steam underneath, making the bottom soggy. Always use a wire rack for proper air circulation and maintained crispiness.
- Not seasoning immediately: Salt and seasonings adhere best to hot, freshly fried foods. Waiting until they cool reduces flavor impact significantly.
- Reusing old frying oil: Oil breaks down with use, lowering its smoke point and imparting off-flavors. Use fresh oil or strain and test oil that’s been used only once before.