
Pork Belly Burnt Ends Recipe
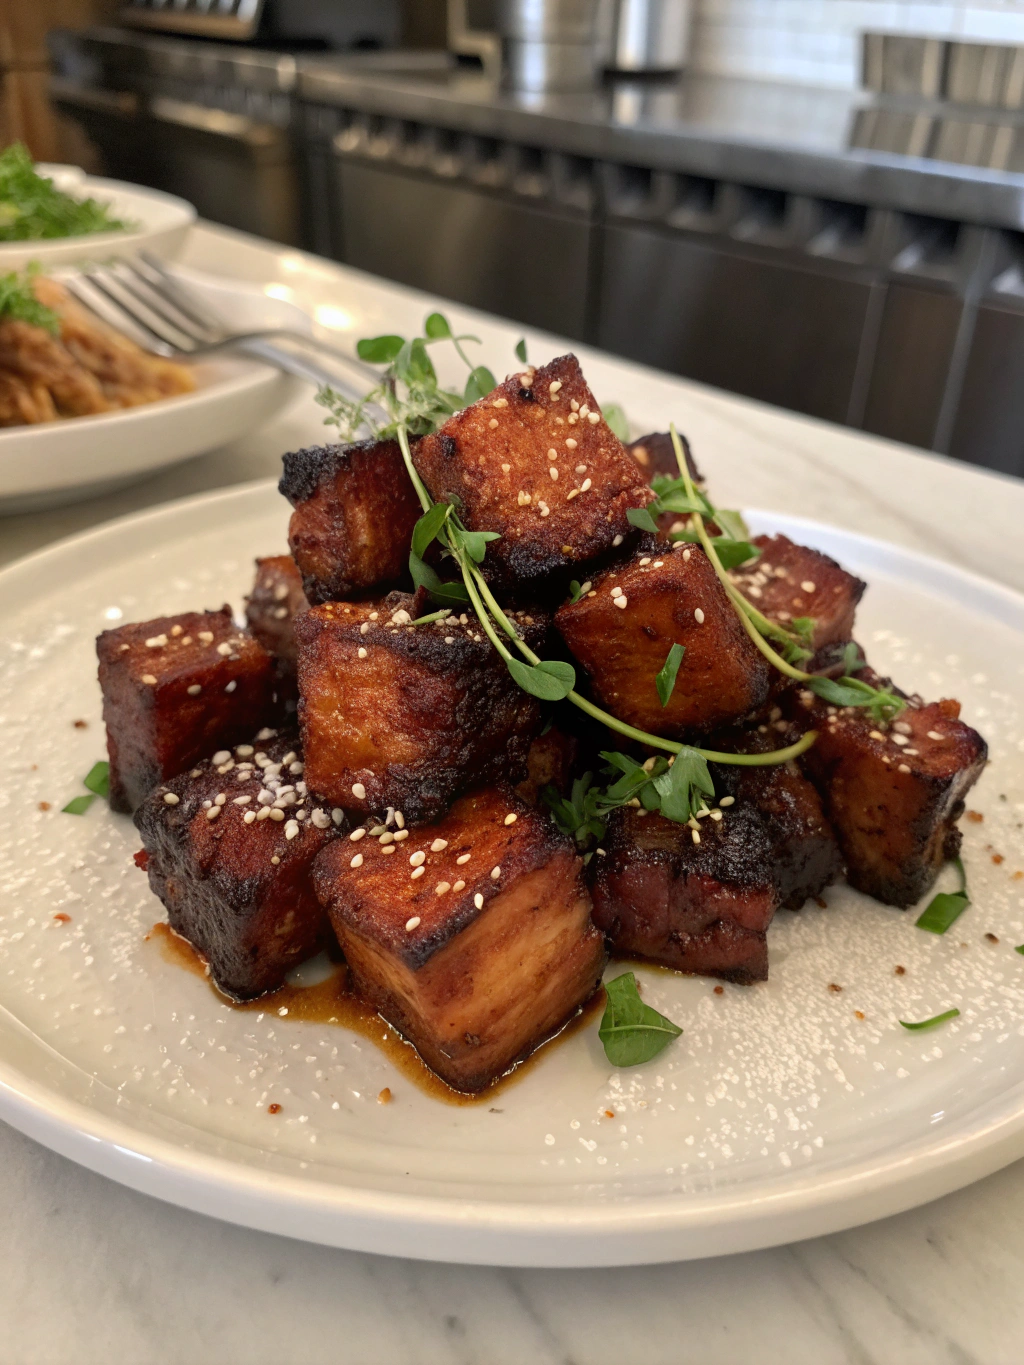
Have you ever wondered why restaurant-quality barbecue seems impossible to recreate at home? The secret might be simpler than you think. This pork belly burnt ends recipe transforms humble pork belly into caramelized, melt-in-your-mouth cubes of pure bliss. Often called “meat candy” by barbecue enthusiasts, these savory bites deliver an explosion of flavor that rivals any steakhouse appetizer.
Unlike traditional brisket burnt ends, pork belly versions cook faster and offer incredible marbling that creates an irresistible texture. Whether you’re a seasoned pitmaster or a backyard grilling novice, this recipe breaks down every step to ensure your success. The combination of smoke, spice, and sweet glaze creates a dish that’s guaranteed to become your new signature recipe.
Table of Contents
Ingredients List
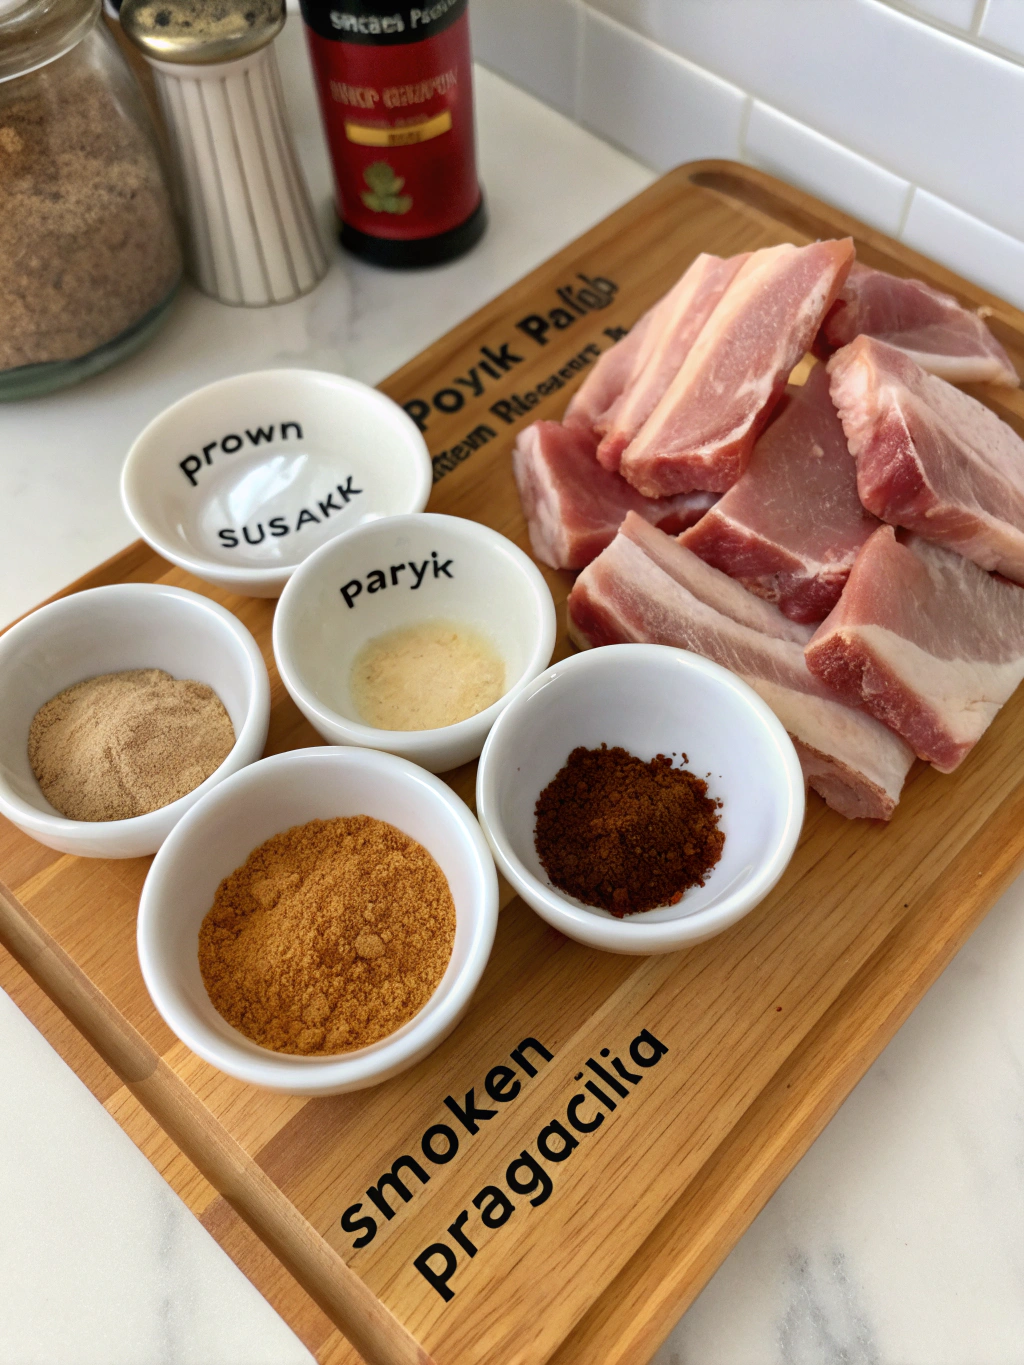
Gathering the right ingredients is crucial for achieving those perfectly caramelized, tender pork belly burnt ends. Each component plays a specific role in building layers of flavor that make this dish unforgettable.
- 3-4 pounds pork belly (skin removed, preferably with good marbling) – You can substitute with thick-cut bacon in a pinch, though results will differ
- ¼ cup yellow mustard – Acts as a binder for the rub; Dijon works as an alternative
- ½ cup brown sugar – Creates the signature caramelization; coconut sugar offers a refined sugar-free option
- 2 tablespoons paprika – Adds color and mild sweetness; smoked paprika intensifies the smoky flavor
- 1 tablespoon garlic powder – Provides savory depth; fresh minced garlic works but may burn
- 1 tablespoon onion powder – Enhances umami notes
- 2 teaspoons black pepper – Freshly ground delivers the best flavor
- 1 tablespoon kosher salt – Balances sweetness; adjust to taste
- 1 teaspoon cayenne pepper – Optional for heat lovers; chipotle powder adds smoky spice
- ½ cup BBQ sauce – Your favorite variety; Kansas City style works beautifully
- ¼ cup honey – Enhances glaze stickiness; maple syrup or agave nectar substitutes well
- 2 tablespoons butter – Adds richness to the glaze; vegan butter works for dairy-free versions
- 2 tablespoons apple cider vinegar – Cuts through richness with acidity
Timing
Understanding the time commitment helps you plan your cooking schedule effectively. This pork belly burnt ends recipe requires patience, but the hands-on time is surprisingly minimal, making it perfect for weekend gatherings.
Preparation Time: 20 minutes for trimming, seasoning, and prep work
Smoking Time: 2.5 hours for the initial smoke phase
Braising Time: 1.5 hours covered in foil with glaze
Final Glazing: 30 minutes uncovered for caramelization
Total Time: Approximately 4.5-5 hours from start to finish. This represents roughly 30% less time than traditional brisket burnt ends, which can take 8-10 hours. The resting period adds another 15 minutes, bringing your total commitment to about 5 hours and 15 minutes.
Step-by-Step Instructions
Step 1: Prepare the Pork Belly
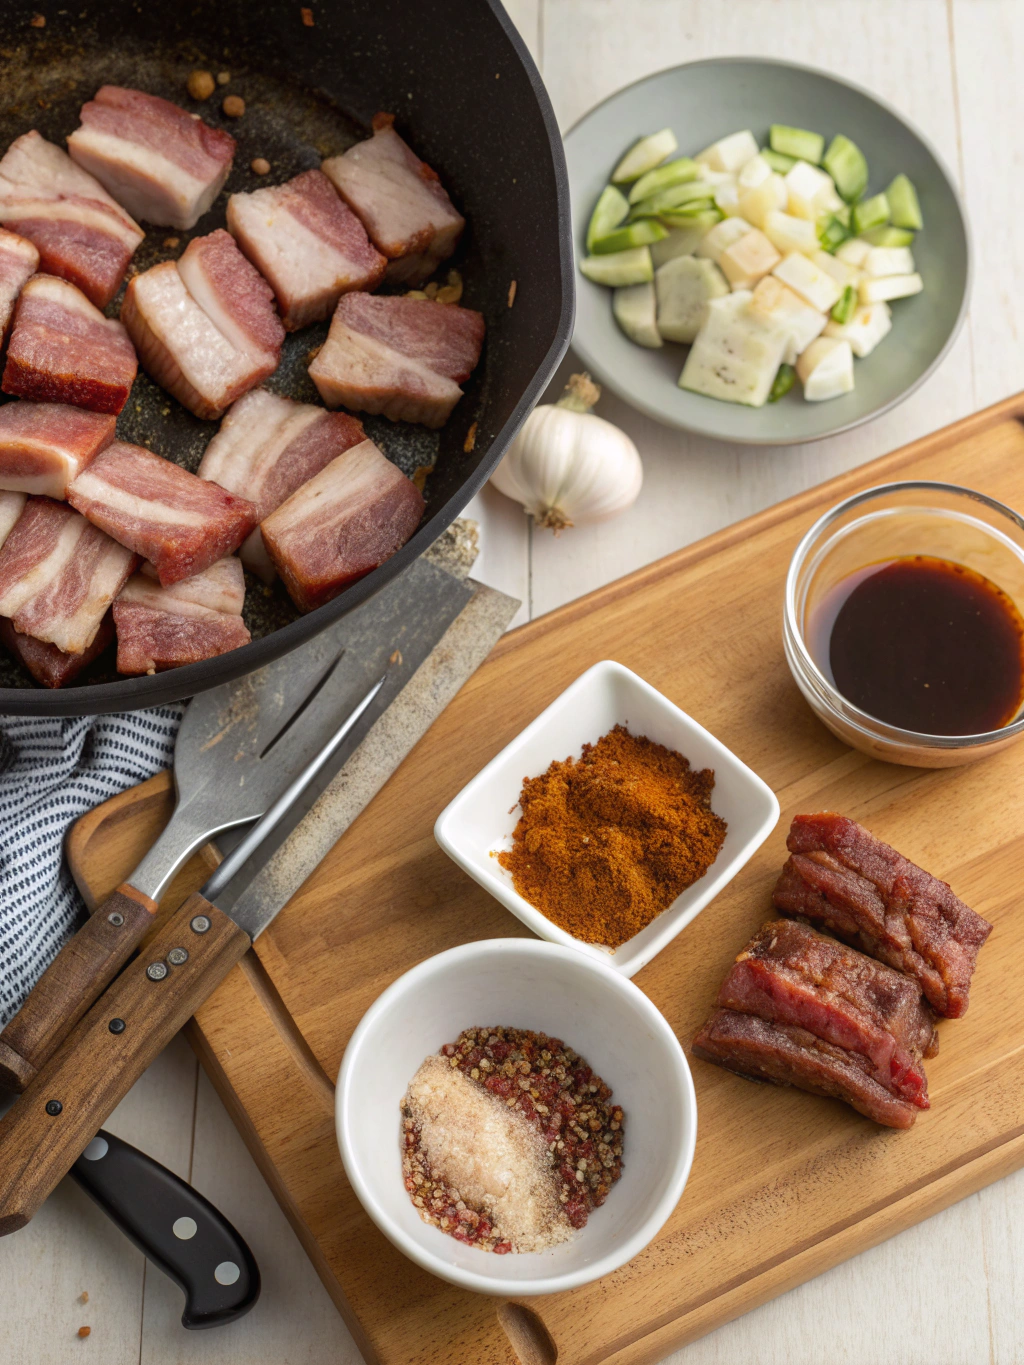
Remove the pork belly from refrigeration 30 minutes before cooking to allow it to reach room temperature. This ensures even cooking throughout. Using a sharp knife, trim any excess skin if still attached, and cut the belly into uniform 1.5-inch cubes. Consistent sizing is critical—pieces that are too small will dry out, while larger chunks won’t develop proper bark.
Pat the cubes completely dry with paper towels. Moisture is the enemy of good bark formation. Place the cubes in a large mixing bowl for easy seasoning application.
Step 2: Apply the Mustard Binder
Pour the yellow mustard over the pork belly cubes and toss thoroughly until each piece is evenly coated. Don’t worry about the mustard flavor overpowering your meat—it mellows completely during cooking and simply helps the dry rub adhere better. The thin coating creates a tacky surface that holds seasoning in place during the long smoke.
Step 3: Create and Apply the Dry Rub
In a medium bowl, combine brown sugar, paprika, garlic powder, onion powder, black pepper, salt, and cayenne pepper. Mix thoroughly to ensure even distribution of all spices. This blend balances sweet, savory, and spicy elements perfectly.
Generously coat each pork belly cube with the rub mixture, pressing gently to ensure adhesion. Don’t be shy—these cubes can handle bold seasoning. Any leftover rub can be stored in an airtight container for up to three months.
Step 4: Preheat Your Smoker
Prepare your smoker to maintain a steady temperature of 250°F (121°C). For optimal flavor, use fruit woods like apple or cherry, which complement pork beautifully without overwhelming it. Hickory and oak also work well for those preferring stronger smoke profiles.
Ensure your water pan is filled to maintain humidity inside the smoker. This prevents the meat from drying out during the extended cooking process.
Step 5: Initial Smoke Phase
Arrange the seasoned pork belly cubes on the smoker grate in a single layer, leaving space between each piece for smoke circulation. Overcrowding leads to uneven cooking and steaming rather than smoking.
Smoke uncovered for 2.5 hours, spritzing with apple cider vinegar every 45 minutes. This keeps the surface moist and helps develop a beautiful mahogany bark. The internal temperature should reach approximately 195°F during this phase.
Step 6: Prepare the Glaze
While the pork smokes, create your glaze by combining BBQ sauce, honey, butter, and apple cider vinegar in a small saucepan. Heat over medium-low, stirring until the butter melts and ingredients blend into a smooth, glossy sauce. Taste and adjust sweetness or acidity to your preference.
Step 7: Braise the Burnt Ends
Transfer the smoked pork belly cubes to a disposable aluminum pan. Pour the prepared glaze over the cubes and toss gently to coat each piece evenly. Cover the pan tightly with heavy-duty aluminum foil to trap steam and moisture.
Return the covered pan to the smoker and continue cooking for 1.5 hours at 250°F. This braising phase tenderizes the meat while infusing it with sweet, tangy flavors. The pork should become incredibly tender, almost jiggly when gently shaken.
Step 8: Final Caramelization
Remove the foil and increase smoker temperature to 275°F if possible. Continue cooking uncovered for 30-45 minutes, stirring every 15 minutes to ensure even glazing. The sauce will reduce and caramelize, creating that signature sticky coating.
Watch carefully during this phase—the high sugar content can burn quickly. You’re looking for a deep, glossy finish with slightly crispy edges. The internal temperature should reach 203-205°F for optimal tenderness.
Step 9: Rest and Serve
Remove the burnt ends from heat and let them rest for 10-15 minutes. This allows juices to redistribute throughout the meat. Resist the temptation to dive in immediately—patience rewards you with juicier results.
Transfer to a serving platter and garnish with fresh chopped parsley or green onions for a pop of color. Serve immediately while still warm for the best texture and flavor experience.
Nutritional Information
Understanding the nutritional profile helps you make informed decisions about portion sizes and meal planning. This pork belly burnt ends recipe is undeniably rich, so mindful consumption is key.
Per 4-ounce serving (approximately 4-5 cubes):
Calories: 485 kcal | Total Fat: 38g (49% DV) | Saturated Fat: 14g (70% DV) | Cholesterol: 95mg (32% DV) | Sodium: 680mg (30% DV) | Total Carbohydrates: 18g (7% DV) | Dietary Fiber: 0.5g (2% DV) | Sugars: 15g | Protein: 16g (32% DV)
Pork belly is naturally high in fat, particularly monounsaturated fats which support heart health when consumed in moderation. It’s also an excellent source of B vitamins, particularly thiamine and niacin, which support energy metabolism. The protein content helps with satiety, though the calorie density means smaller portions go a long way.
The sugar content primarily comes from the glaze and rub, contributing to the higher carbohydrate count compared to plain smoked pork. Sodium levels can be adjusted by reducing salt in the rub or choosing low-sodium BBQ sauce.
Healthier Alternatives for the Recipe
While pork belly burnt ends are inherently indulgent, several modifications can lighten the nutritional load without sacrificing too much flavor. These adjustments make the dish more accessible for various dietary preferences.
Leaner Protein Options: Substitute pork belly with pork loin or pork shoulder for significantly less fat. While you’ll sacrifice some richness, proper brining beforehand maintains moisture. Chicken thighs also work surprisingly well with this cooking method.
Sugar Reduction: Cut the brown sugar in the rub by half and use a sugar-free BBQ sauce. Substitute honey with a monk fruit sweetener blend designed for cooking. This can reduce sugar content by up to 60% while maintaining caramelization.
Portion Control: Serve burnt ends as an appetizer or side dish rather than the main protein. Pair with fiber-rich vegetables and whole grains to create a more balanced plate that naturally limits portion sizes.
Healthier Glaze: Replace butter with olive oil or avocado oil for better fat profiles. Increase apple cider vinegar to enhance tanginess without added calories. Add pureed fruit like apricots or peaches for natural sweetness and additional nutrients.
Air Fryer Method: For those without smokers, an air fryer can create similar results with less added fat. While you’ll miss the smoke flavor, liquid smoke in the glaze bridges that gap somewhat. This method also reduces cooking time by approximately 40%.
Serving Suggestions
Presentation and pairing elevate pork belly burnt ends from delicious to unforgettable. These versatile morsels work in numerous contexts, from casual backyard gatherings to upscale dinner parties.
Classic BBQ Platter: Serve alongside traditional sides like creamy coleslaw, baked beans, and cornbread. The cool, crunchy slaw provides textural contrast to the rich, tender meat. Pickles and pickled onions cut through the fat beautifully.
Loaded Nachos: Layer burnt ends over tortilla chips with cheese, jalapeños, sour cream, and guacamole for an indulgent appetizer that feeds a crowd. The combination creates an addictive sweet-savory-spicy flavor profile.
Gourmet Sliders: Pile burnt ends on small brioche buns with crispy fried onions and spicy mayo. These handheld treats are perfect for parties and game day gatherings. Add a slice of sharp cheddar for extra richness.
Asian Fusion Bowl: Serve over jasmine rice with stir-fried vegetables, edamame, and a drizzle of sriracha mayo. This cross-cultural approach highlights the versatility of the preparation method while introducing fresh, lighter elements.
Breakfast Hash: Chop leftover burnt ends and crisp them in a skillet with diced potatoes, bell peppers, and onions. Top with fried eggs for a decadent weekend breakfast that repurposes leftovers brilliantly.
Beverage Pairings: The rich, sweet flavors pair exceptionally well with bourbon, dark beer, or bold red wines like Zinfandel. For non-alcoholic options, try sweet tea, craft root beer, or a tart lemonade to balance the richness.
Common Mistakes to Avoid
Even experienced cooks can stumble with this recipe. Understanding these pitfalls helps you achieve perfect results on your first attempt, saving time, ingredients, and frustration.
- Inconsistent Cube Sizing: Cutting irregular pieces leads to uneven cooking. Smaller cubes dry out while larger ones remain undercooked. Use a ruler if needed to ensure uniformity—precision matters here.
- Skipping the Mustard Binder: Applying rub directly to dry meat results in poor adhesion and uneven seasoning. The thin mustard layer makes a significant difference in bark development without affecting final flavor.
- Temperature Fluctuations: Opening the smoker frequently drops temperature and extends cooking time. Each peek adds approximately 15 minutes to your total cook. Trust the process and resist the urge to check constantly.
- Rushing the Smoke Phase: Removing the burnt ends too early from initial smoking prevents proper bark formation. That dark, flavorful crust requires time to develop—patience is essential.
- Over-Saucing: Adding too much glaze creates soggy burnt ends rather than sticky, caramelized ones. Start with less sauce than you think necessary; you can always add more during the final phase.