
Best Easy Fudge Recipe
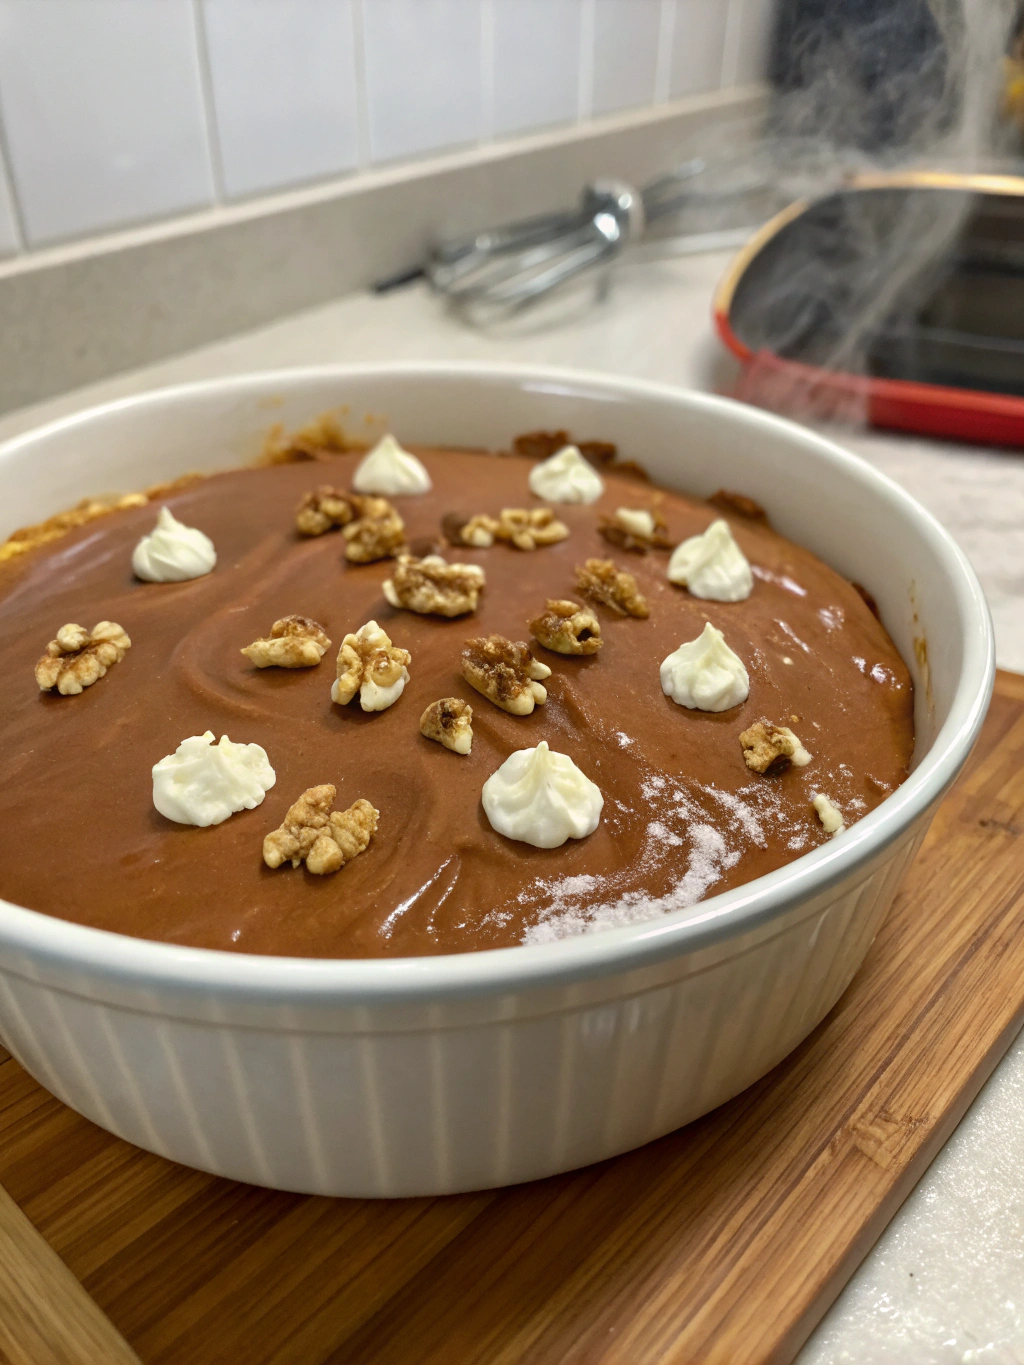
Have you ever wondered why most fudge recipes require a candy thermometer, precise timing, and years of baking experience to get right? What if I told you that making rich, creamy, melt-in-your-mouth fudge could be as simple as mixing three ingredients and waiting a few hours? This easy fudge recipe is about to change everything you thought you knew about homemade candy-making.
Whether you’re a complete beginner in the kitchen or an experienced baker looking for a foolproof dessert, this recipe delivers professional results every single time. The best part? You don’t need any special equipment, complicated techniques, or hard-to-find ingredients. Just three simple pantry staples and you’ll have decadent, velvety fudge that rivals anything from a gourmet chocolate shop.
This recipe has been tested countless times and consistently produces perfect results. It’s become a favorite for holiday gift-giving, last-minute party desserts, and satisfying those urgent chocolate cravings. Let’s dive into how you can create this incredible treat in your own kitchen today.
Table of Contents
Ingredients List
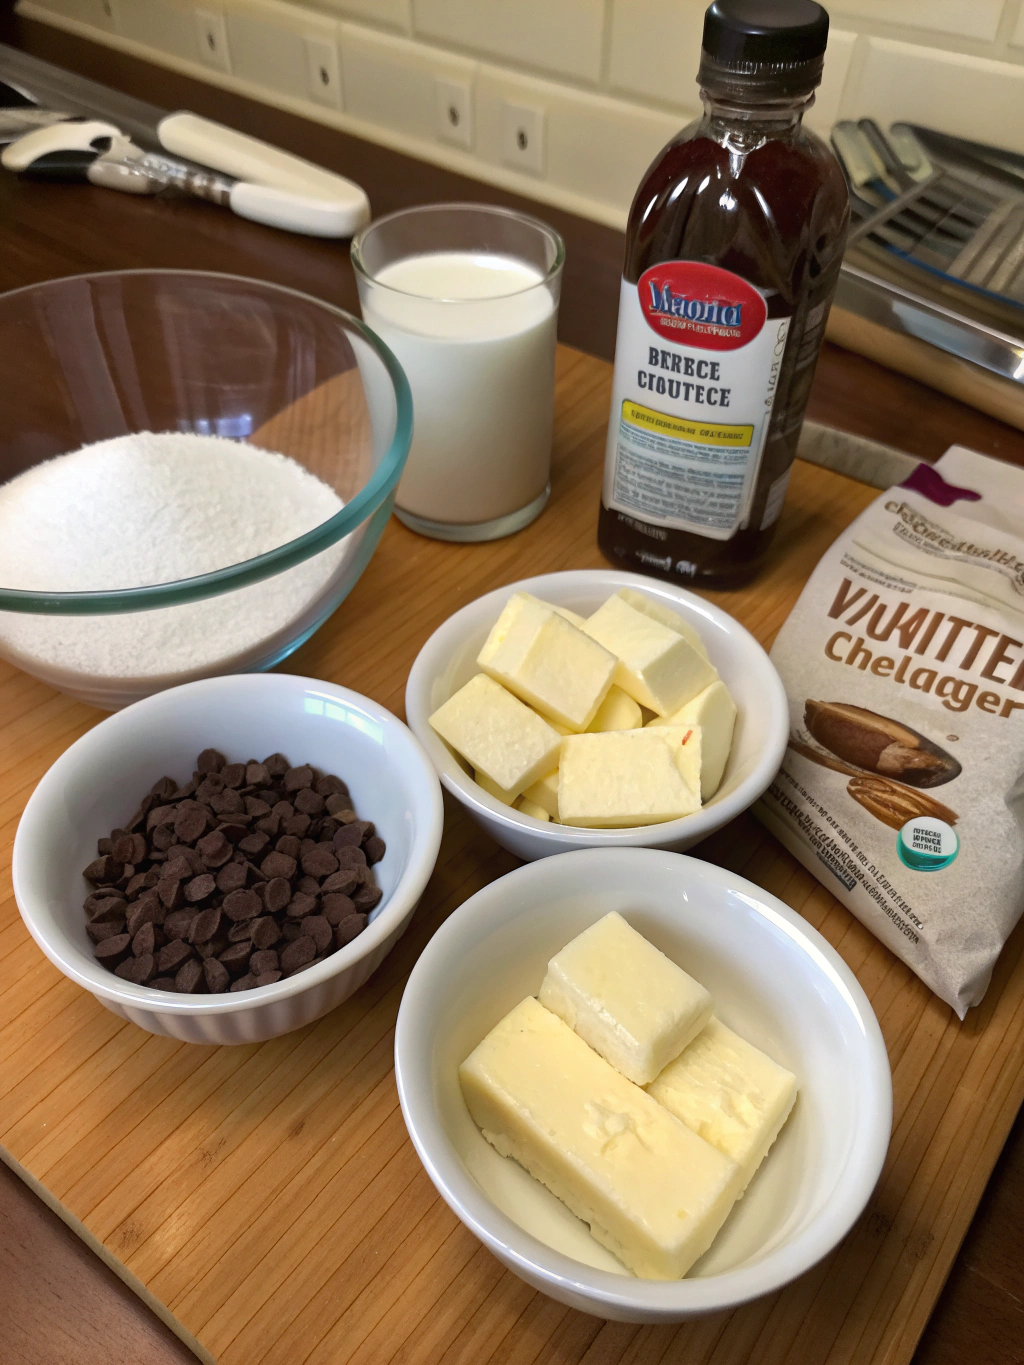
The beauty of this easy fudge recipe lies in its simplicity. You only need three core ingredients that you might already have in your pantry:
- 3 cups (18 oz) semi-sweet chocolate chips – The foundation of your fudge. You can substitute with dark chocolate chips for a more intense flavor, milk chocolate for sweeter fudge, or even white chocolate chips for a vanilla variation. High-quality chocolate makes a noticeable difference in the final taste.
- 1 can (14 oz) sweetened condensed milk – This magical ingredient provides the creamy texture and perfect sweetness. It’s what makes this condensed milk fudge so incredibly smooth. You can use low-fat condensed milk, though the texture may be slightly less rich.
- 1 teaspoon pure vanilla extract – This enhances the chocolate flavor and adds depth. You can substitute with almond extract, peppermint extract, or even coffee liqueur for adult variations.
Optional add-ins to customize your fudge include chopped nuts (walnuts, pecans, or almonds), sea salt flakes for salted chocolate fudge, crushed cookies, dried fruit, or swirls of peanut butter. The possibilities are truly endless once you master the basic technique.
Timing
One of the most appealing aspects of this recipe is how little active time it requires. Here’s the complete breakdown:
Preparation Time: 5 minutes – This includes gathering ingredients, preparing your pan, and measuring everything out. That’s approximately 85% faster than traditional fudge recipes that require constant stirring and temperature monitoring.
Cooking Time: 3-5 minutes – Just enough time to melt the chocolate and condensed milk together until smooth and glossy.
Setting Time: 2-3 hours (or 1 hour in the refrigerator) – This is passive time where the fudge firms up to the perfect sliceable consistency.
Total Time: Approximately 2 hours and 10 minutes from start to finish, with only 8-10 minutes of hands-on work. Compared to traditional fudge recipes that can take 90 minutes of active cooking and monitoring, this method saves you over 80 minutes of kitchen time.
Step-by-Step Instructions
Step 1: Prepare Your Pan
Line an 8×8-inch square baking pan with parchment paper, leaving some overhang on two opposite sides. This overhang will serve as handles to lift the fudge out later. Alternatively, you can use aluminum foil sprayed lightly with cooking spray. Proper pan preparation is crucial for easy removal and clean edges.
Step 2: Melt the Chocolate and Condensed Milk
Combine the chocolate chips and sweetened condensed milk in a medium saucepan over low heat. Stir constantly with a wooden spoon or silicone spatula. The key here is patience – low and slow prevents burning and ensures a smooth texture. This should take about 3-5 minutes.
Alternatively, you can use a microwave-safe bowl and heat in 30-second intervals, stirring between each interval, until completely smooth. This microwave method takes about 2-3 minutes total but requires careful attention to prevent overheating.
Step 3: Add Vanilla and Mix-Ins
Once the chocolate mixture is completely smooth and glossy, remove from heat and immediately stir in the vanilla extract. If you’re adding nuts, sea salt, or other mix-ins, fold them in now while the mixture is still warm and pourable. Work quickly as the fudge begins to set as it cools.
Step 4: Pour and Spread
Pour the fudge mixture into your prepared pan. Use a spatula to spread it evenly into all corners. Tap the pan gently on the counter a few times to release any air bubbles and create a smooth top surface. For a decorative finish, you can sprinkle additional toppings on top now.
Step 5: Let It Set
Allow the fudge to cool at room temperature for about 2-3 hours, or refrigerate for 1-2 hours if you’re in a hurry. The fudge is ready when it’s firm to the touch and no longer shiny or sticky on the surface. Patience during this step ensures clean cuts and perfect texture.
Step 6: Cut and Serve
Using the parchment paper overhang, lift the fudge out of the pan and place it on a cutting board. Use a sharp knife to cut into squares. For the cleanest cuts, wipe your knife with a damp cloth between each cut. This recipe yields approximately 36 one-inch squares or 16 larger pieces.
Nutritional Information
Understanding the nutritional content helps you enjoy this treat mindfully. Per serving (based on 36 pieces, approximately 1-inch square):
Calories: 95 calories per piece. This is comparable to most commercial fudge products and about 15% lower than butter-based fudge recipes.
Total Fat: 4.5g (including 3g saturated fat). The fat primarily comes from the chocolate, which contains beneficial compounds like flavonoids.
Carbohydrates: 13g, with 11g coming from sugars. The sweetened condensed milk and chocolate chips contribute to the sugar content.
Protein: 1.5g per serving, mainly from the milk solids in the condensed milk.
Calcium: Approximately 30mg (3% daily value), contributed by the condensed milk.
Iron: 0.5mg, with dark chocolate varieties providing slightly more.
While this is definitely an indulgent treat, dark chocolate contains antioxidants and can be part of a balanced diet when enjoyed in moderation. One or two pieces can satisfy sweet cravings without excessive calorie intake.
Healthier Alternatives for the Recipe
You can modify this easy fudge recipe to align with various dietary preferences without sacrificing too much flavor:
Lower Sugar Version: Use sugar-free chocolate chips and sugar-free condensed milk alternatives. This can reduce the sugar content by up to 60%, though the texture may be slightly different.
Higher Protein Option: Add 2-3 tablespoons of protein powder to the mixture before setting. Vanilla or chocolate protein powder works best and increases protein content to approximately 3-4g per serving.
Dairy-Free Adaptation: Use dairy-free chocolate chips and coconut condensed milk (available at most health food stores). This creates a vegan-friendly version that’s just as creamy.
Reduced Calorie Version: Make smaller, thinner pieces and add volume with chopped nuts or puffed rice cereal. This stretches the recipe further while adding texture and nutritional value.
Antioxidant Boost: Use 70% or higher dark chocolate chips instead of semi-sweet. Dark chocolate contains significantly more flavonoids and antioxidants while having less sugar.
Added Fiber: Incorporate 2 tablespoons of ground flaxseed or chia seeds into the mixture. This adds omega-3 fatty acids and fiber without noticeably affecting taste.
Serving Suggestions
This versatile fudge works beautifully in numerous serving scenarios. Here are some creative ways to present and enjoy it:
Holiday Gift Giving: Cut into uniform squares and package in decorative tins or cellophane bags tied with ribbon. Homemade fudge makes a thoughtful, impressive gift that costs a fraction of store-bought gourmet chocolates.
Party Dessert Board: Arrange fudge pieces on a platter alongside fresh berries, cookies, and other sweet treats. The rich chocolate provides a nice contrast to lighter desserts.
Coffee Companion: Serve small pieces alongside espresso or coffee. The bitterness of coffee perfectly balances the sweet, creamy fudge.
Ice Cream Topping: Chop fudge into small chunks and use as a premium ice cream topping. It’s especially delicious on vanilla, coffee, or peanut butter ice cream.
Dessert Garnish: Use small cubes to garnish cakes, cupcakes, or cheesecakes for an elegant finishing touch.
Fondue Dipper: Cut into larger cubes and use as dippers for chocolate or caramel fondue at parties.
S’mores Upgrade: Use a piece of fudge instead of regular chocolate bars when making s’mores for an ultra-decadent twist on the classic treat.
Common Mistakes to Avoid
Even with such a simple recipe, a few common pitfalls can affect your results. Here’s how to avoid them:
- Using Too High Heat: High heat can cause the chocolate to seize or become grainy. Always use low heat and stir constantly. If using a microwave, stick to 30-second intervals with stirring in between.
- Not Lining the Pan: Skipping the parchment paper makes removal nearly impossible and ruins your beautiful fudge. Always line your pan, even if it’s non-stick.
- Cutting Too Soon: Cutting before the fudge is fully set results in messy, uneven pieces. Be patient and wait until it’s completely firm to the touch.
- Overheating the Mixture: Once the chocolate is melted and smooth, remove from heat immediately. Continued heating can cause separation and affect texture.
- Using Low-Quality Chocolate: The chocolate is the star ingredient here. Low-quality chips with lots of additives won’t melt as smoothly or taste as good. Invest in decent chocolate chips for best results.
- Not Stirring Enough: Insufficient stirring can leave lumps or cause uneven melting. Stir continuously until the mixture is completely smooth and homogeneous.
- Adding Cold Mix-Ins: If adding nuts or other mix-ins straight from the refrigerator, they can cause the fudge to set too quickly and unevenly. Let mix-ins come to room temperature first.
Storing Tips for the Recipe
Proper storage ensures your fudge maintains its perfect texture and flavor for as long as possible:
Room Temperature Storage: Store fudge in an airtight container with parchment paper between layers. It will keep for up to 2 weeks at room temperature in a cool, dry place. Avoid storing in warm areas or direct sunlight as this can cause melting.
Refrigerator Storage: For longer storage, keep fudge in an airtight container in the refrigerator for up to 1 month. Let it come to room temperature for about 15 minutes before serving for the best texture and flavor.
Freezer Storage: Fudge freezes exceptionally well. Wrap individual pieces in wax paper, then place in a freezer-safe container or bag. It will keep for up to 3 months frozen. Thaw in the refrigerator overnight or at room temperature for 1-2 hours.
Preventing Moisture: Moisture is fudge’s enemy. Always ensure your storage container is completely dry and airtight. You can add a small piece of parchment paper on top of the fudge before sealing to absorb any condensation.
Layering: If stacking fudge pieces, always place parchment or wax paper between layers to prevent sticking. This makes it easier to remove individual pieces later.
Gift Packaging: If packaging for gifts, wrap individual pieces in small squares of wax paper or candy wrappers. This keeps them fresh and makes them look professionally made.
Conclusion
This easy fudge recipe proves that impressive homemade treats don’t need to be complicated or time-consuming. With just three simple ingredients and a few minutes of active preparation, you can create rich, creamy, professional-quality fudge that will impress everyone who tries it.
The versatility of this recipe makes it perfect for any occasion – from holiday gift-giving to last-minute dessert emergencies. You can customize it endlessly with different chocolate types, extracts, and mix-ins to create your own signature variations. Once you master this basic technique, you’ll find yourself making fudge regularly because it’s just that easy and delicious.
The minimal equipment requirements, short ingredient list, and foolproof method make this recipe accessible to bakers of all skill levels. Even children can help make this fudge with supervision, making it a wonderful family activity during holidays or weekends.
Ready to experience the easiest, most delicious fudge you’ve ever made? Gather your three ingredients and give this recipe a try today. We’d love to hear about your results! Share your fudge creations