
Authentic Claussen Dill Pickle Recipe
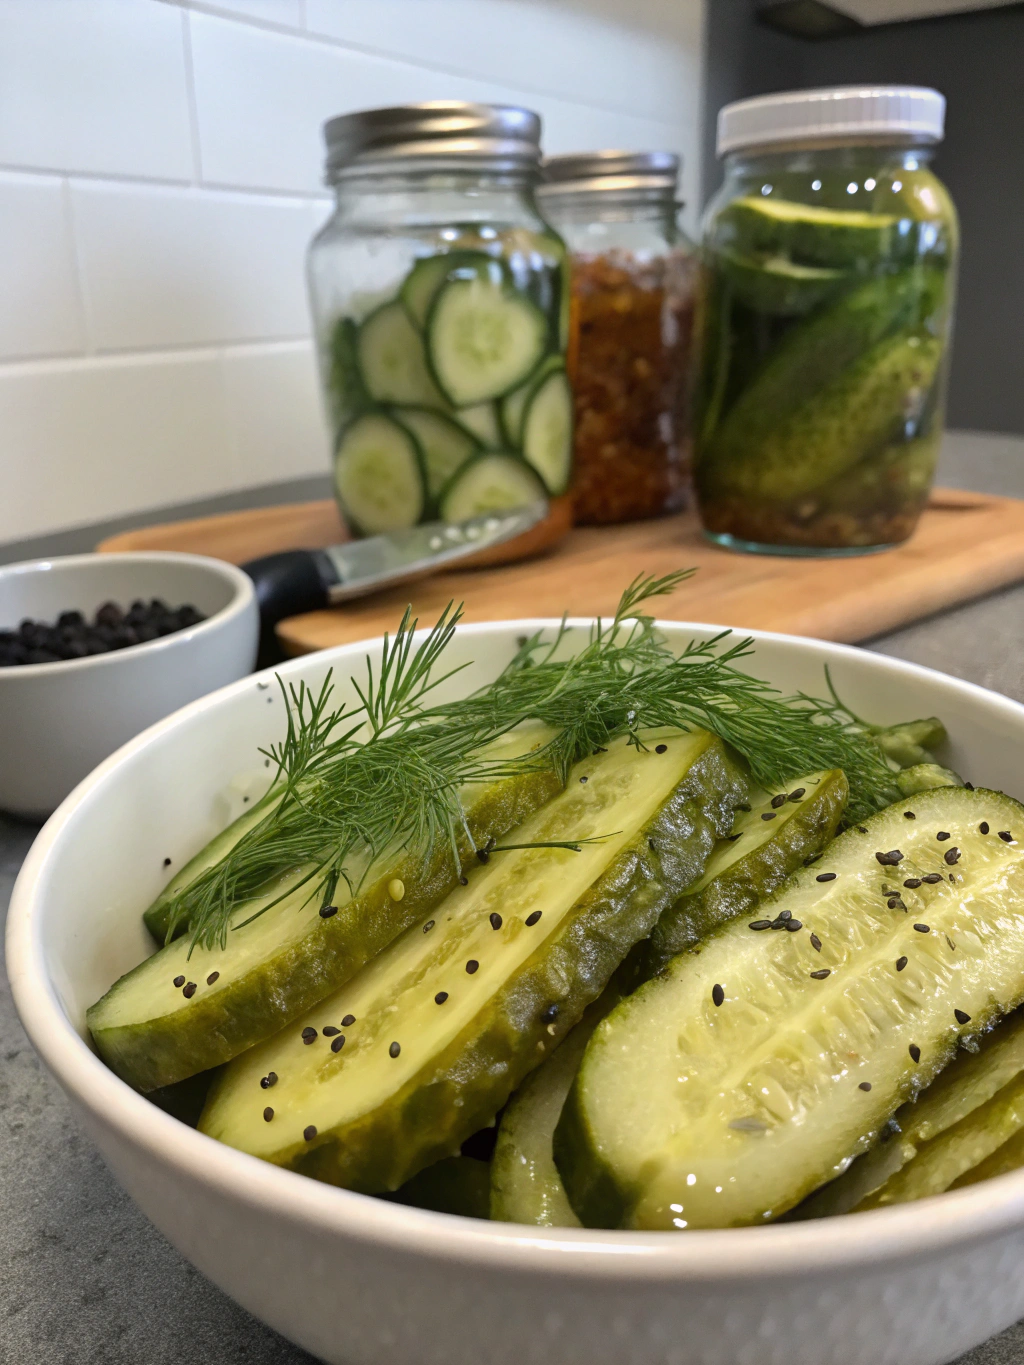
Have you ever wondered why store-bought Claussen pickles have that irresistible crunch and tangy flavor that keeps you reaching back into the jar? The secret isn’t just in the brine—it’s in the technique. Today, I’m sharing an authentic claussen dill pickle recipe that delivers that signature snap and zesty taste right in your own kitchen. This recipe captures the essence of those beloved refrigerator pickles, ensuring every bite is as satisfying as the original.
Making homemade pickles might seem intimidating, but this method is surprisingly straightforward. Unlike traditional canning methods that require hot water baths and special equipment, this refrigerator pickle approach is beginner-friendly. You’ll achieve professional results without the fuss, creating pickles that rival—and often surpass—what you’d find in stores.
The beauty of this recipe lies in its simplicity and the quality of ingredients. Fresh cucumbers, aromatic dill, and a perfectly balanced brine come together to create pickles with that characteristic Claussen taste. Whether you’re a pickle enthusiast or just discovering the joy of homemade preserves, this recipe will become your go-to method for creating crunchy, flavorful dill pickles.
Table of Contents
Ingredients List Claussen Dill Pickle Recipe
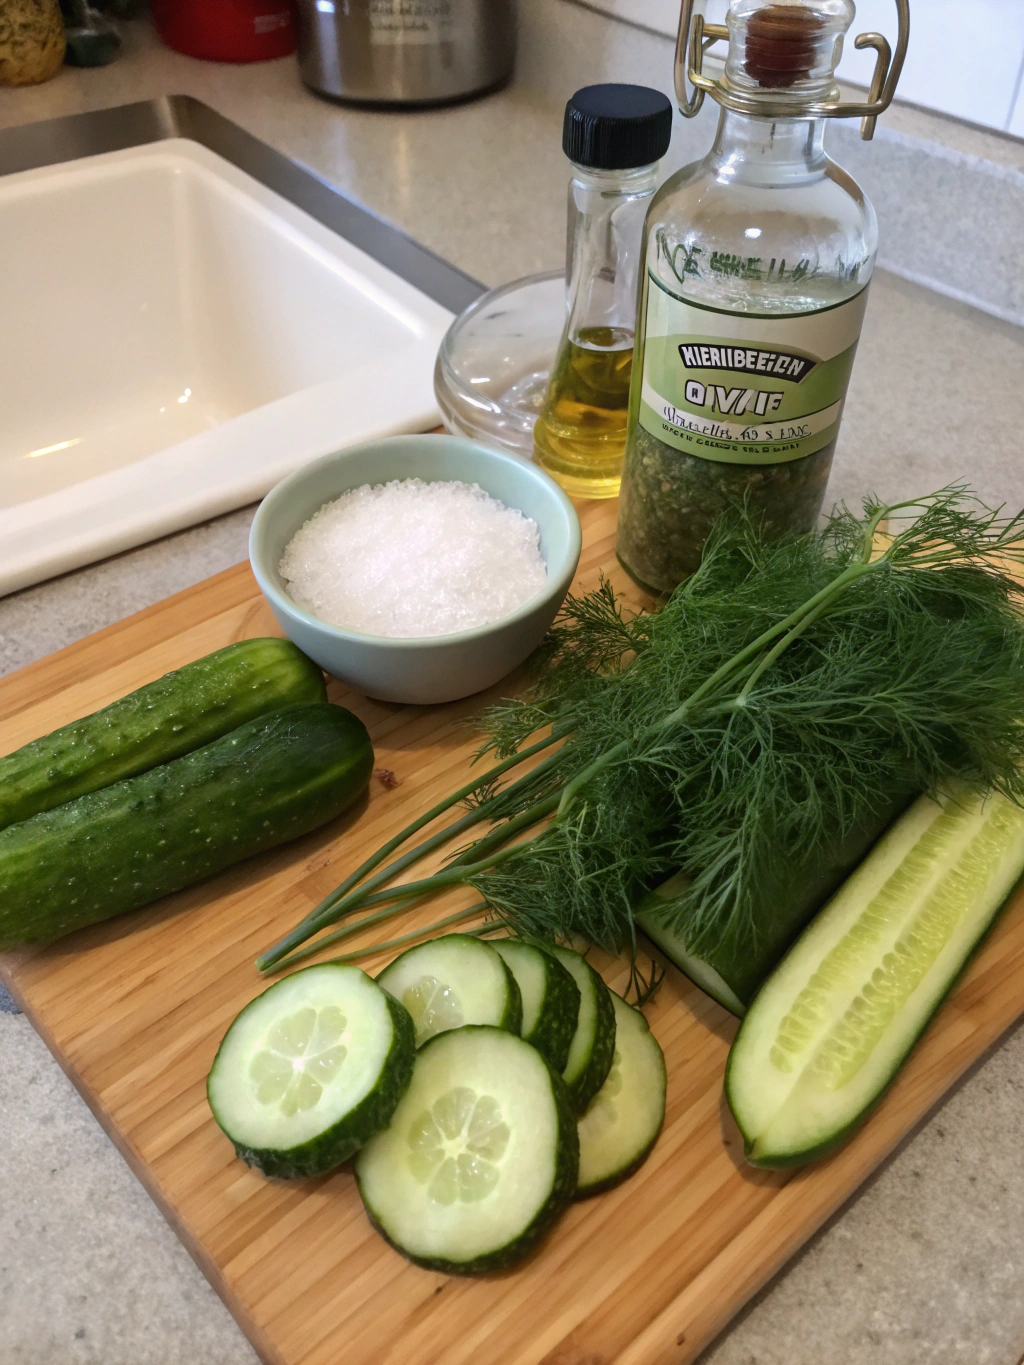
Gathering the right ingredients is crucial for achieving that authentic Claussen taste and texture. Here’s everything you’ll need:
- 4 pounds fresh pickling cucumbers (Kirby cucumbers work best; look for firm, unwaxed cucumbers no longer than 4-5 inches for optimal crunch)
- 4 cups filtered water (chlorine-free water prevents cloudiness and maintains crispness)
- 2 cups white vinegar (5% acidity; apple cider vinegar can be substituted for a slightly sweeter profile)
- 1/4 cup kosher salt (avoid iodized salt which can cause discoloration and bitter flavors)
- 2 tablespoons granulated sugar (balances the acidity; can reduce to 1 tablespoon for less sweetness)
- 8-10 cloves fresh garlic (peeled and lightly crushed to release aromatic oils)
- 4-6 sprigs fresh dill (or 2 tablespoons dill seed as an alternative)
- 2 teaspoons whole black peppercorns (adds subtle heat and complexity)
- 1 teaspoon mustard seeds (optional but recommended for authentic flavor)
- 1/2 teaspoon red pepper flakes (optional, for those who enjoy a spicy kick)
- 4-6 grape leaves or oak leaves (optional but highly recommended; the tannins keep pickles crispy)
The freshness of your cucumbers cannot be overstated. Ideally, use cucumbers within 24 hours of picking or purchasing. The enzymes that soften cucumbers begin working immediately after harvest, so fresher cucumbers yield crunchier pickles. If you’re growing your own, harvest them in the morning when they’re most hydrated.
Timing
One of the advantages of this claussen dill pickle recipe is its efficiency compared to traditional canning methods.
Preparation Time: 20 minutes (including washing, trimming, and preparing ingredients)
Brining Time: 10 minutes (heating and dissolving the brine ingredients)
Cooling Time: 45-60 minutes (allowing brine to reach room temperature before refrigerating)
Pickling Time: 3-5 days minimum in refrigerator (flavor develops progressively; optimal taste achieved at day 5)
Total Active Time: 30 minutes
This represents approximately 40% less active preparation time than traditional hot-pack canning methods, making it perfect for busy home cooks. The passive refrigeration time allows flavors to meld beautifully without requiring constant attention or monitoring.
Step-by-Step Instructions
Step 1: Prepare the Cucumbers
Begin by thoroughly washing your cucumbers under cold running water. Use a vegetable brush to remove any dirt or debris, paying special attention to the blossom end. The blossom end contains enzymes that can soften pickles, so trim off approximately 1/16 inch from both ends of each cucumber.
Slice cucumbers into your preferred shape—spears, chips, or leave them whole if they’re small enough. For spears, quarter each cucumber lengthwise. For chips, slice into 1/4-inch rounds. Whole pickles take longer to develop flavor but offer the most satisfying crunch.
Step 2: Prepare Your Jars
Wash two large glass jars (quart-size or larger) with hot, soapy water and rinse thoroughly. While sterilization isn’t necessary for refrigerator pickles, clean jars prevent unwanted bacteria. Dry the jars completely or allow them to air dry.
If using grape or oak leaves, place 1-2 leaves at the bottom of each jar. These leaves contain natural tannins that inhibit the enzymes responsible for softening, ensuring your pickles stay crispy for weeks.
Step 3: Layer the Aromatics and Cucumbers
Divide the garlic cloves, dill sprigs, peppercorns, mustard seeds, and red pepper flakes (if using) evenly between your jars. Add half of these aromatics to the bottom of each jar, then pack the cucumber pieces tightly but not crushed. You want them snug enough to stay submerged but with enough space for brine to circulate.
Add the remaining aromatics on top of the cucumbers. This distribution ensures even flavor throughout the jar. If you have extra grape leaves, tuck one on top of the cucumbers to help keep them submerged beneath the brine.
Step 4: Make the Brine
In a medium saucepan, combine the filtered water, white vinegar, kosher salt, and sugar. Place over medium-high heat and stir occasionally until the salt and sugar dissolve completely, about 5-7 minutes. You don’t need to bring it to a full boil—just hot enough to dissolve the ingredients thoroughly.
The ratio of water to vinegar in this kosher dill pickle recipe creates the perfect balance of tang and crispness. Too much vinegar can make pickles overly sour, while too little won’t preserve them properly or provide that characteristic bite.
Step 5: Pour and Cool
Carefully pour the hot brine over the cucumbers in each jar, ensuring all pieces are completely submerged. Leave about 1/2 inch of headspace at the top. The hot brine will initially wilt the dill and release the aromatic oils from the garlic and spices.
Allow the jars to cool to room temperature, uncovered, for 45-60 minutes. This gradual cooling prevents thermal shock to the glass and allows the cucumbers to begin absorbing flavors without cooking, which would compromise their crunch.
Step 6: Refrigerate and Wait
Once cooled to room temperature, seal the jars with tight-fitting lids and transfer them to your refrigerator. The pickles will be lightly flavored after 24 hours, but the true Claussen-style taste develops after 3-5 days of refrigeration.
For best results, gently shake or invert the jars once daily during the first few days. This redistributes the seasonings and ensures even flavor penetration throughout all the pickles.
Nutritional Information Claussen Dill Pickle Recipe
Understanding the nutritional profile of your homemade pickles helps you make informed dietary choices. Per serving (approximately 3-4 pickle spears or 1/4 cup pickle chips):
Calories: 15-20 (significantly lower than many processed snacks, making pickles an excellent low-calorie option)
Total Fat: 0g
Sodium: 280-320mg (approximately 12-14% of daily recommended intake; lower than many commercial pickle brands which can contain 400mg or more per serving)
Total Carbohydrates: 3-4g
Dietary Fiber: 0.5-1g
Sugars: 2-3g (naturally occurring from cucumbers plus added sugar in brine)
Protein: 0.5g
Vitamin K: 15% of Daily Value (important for blood clotting and bone health)
Vitamin A: 2% of Daily Value
Pickles are also a source of probiotics when naturally fermented, though this refrigerator method produces fewer beneficial bacteria than traditional fermentation. However, the vinegar-based brine still offers digestive benefits and the cucumbers retain more vitamins than heat-processed alternatives.
Healthier Alternatives for the Recipe
While this claussen dill pickle recipe is already relatively healthy, several modifications can enhance its nutritional profile without sacrificing flavor.
Reduce Sodium: Cut the kosher salt to 2-3 tablespoons instead of 1/4 cup. This reduces sodium by approximately 30-40% per serving. The pickles will be slightly less shelf-stable but still delicious when kept refrigerated and consumed within 2-3 weeks.
Eliminate Added Sugar: Omit the granulated sugar entirely for a sugar-free version. The natural sweetness of fresh cucumbers provides subtle sweetness, and the vinegar’s tang becomes more pronounced, which many pickle enthusiasts prefer.
Use Apple Cider Vinegar: Substitute half or all of the white vinegar with raw, unfiltered apple cider vinegar. This adds beneficial enzymes and probiotics while creating a slightly mellower, more complex flavor profile with potential digestive benefits.
Add Turmeric: Include 1/2 teaspoon of ground turmeric to the brine for anti-inflammatory properties and a beautiful golden color. Turmeric contains curcumin, a compound with powerful antioxidant effects.
Incorporate Fresh Ginger: Add 2-3 thin slices of fresh ginger to each jar for digestive support and a subtle warming note that complements the dill beautifully.
Boost Probiotic Content: For a fermented version, eliminate the vinegar and use a 3% salt brine (3 tablespoons salt per quart of water), allowing the pickles to ferment at room temperature for 3-5 days before refrigerating. This creates naturally probiotic-rich pickles.
Serving Suggestions
The versatility of homemade dill pickles extends far beyond simple snacking, though they’re certainly perfect straight from the jar.
Classic Pairings: Serve alongside deli sandwiches, burgers, or hot dogs for that traditional pickle experience. The acidity cuts through rich, fatty meats beautifully, cleansing the palate between bites.
Charcuterie Boards: Include pickle spears or chips on cheese and charcuterie boards. They provide essential acidity that balances creamy cheeses and cured meats while adding textural contrast and visual appeal.
Pickle Relish: Finely chop your homemade pickles to create fresh relish for potato salad, egg salad, tuna salad, or tartar sauce. The flavor is incomparably brighter than jarred relish.
Bloody Mary Garnish: Use whole pickle spears as stirrers in Bloody Marys or dirty martinis. The pickle brine itself makes an excellent addition to these cocktails, adding depth and complexity.
Fried Pickles: Drain pickle chips thoroughly, dredge in seasoned flour and buttermilk, then fry until golden for restaurant-quality fried pickles with superior flavor and crunch.
Pickle Soup: Incorporate diced pickles and pickle brine into Eastern European-style pickle soup (zupa ogórkowa) for an authentic, tangy comfort food experience.
Grilled Cheese Enhancement: Add thin pickle slices to grilled cheese sandwiches before grilling. The acidity and crunch elevate this simple classic to gourmet status.
Common Mistakes to Avoid
Even with a straightforward recipe, certain pitfalls can compromise your pickle quality. Here’s what to watch for:
- Using Waxed Cucumbers: Grocery store cucumbers often have a wax coating that prevents brine absorption. Always choose unwaxed pickling cucumbers or English cucumbers, or thoroughly scrub regular cucumbers with hot water and vinegar to remove wax.
- Skipping the End Trimming: The blossom end of cucumbers contains enzymes that cause softening. Always trim both ends, even if you’re unsure which is which. This simple step prevents mushy pickles.
- Using Iodized Salt: Iodized table salt contains additives that cloud brine and can create off-flavors. Always use kosher salt, pickling salt, or sea salt without additives for crystal-clear brine and pure flavor.
- Pouring Boiling Brine Directly: While some recipes call for boiling brine, excessively hot liquid can cook cucumbers, resulting in less crispy pickles. Heat just until salt and sugar dissolve, then cool slightly before pouring.
- Overcrowding Jars: Packing cucumbers too tightly prevents proper brine circulation and can result in uneven flavoring. Leave small gaps between pieces for optimal results.
- Using Chlorinated Water: Chlorine in tap water can interfere with the pickling process and affect flavor. Use filtered or bottled water, or let tap water sit uncovered overnight to allow chlorine to dissipate.
- Not Waiting Long Enough: Impatience is the enemy of