
Fried Chicken Tenders Recipe
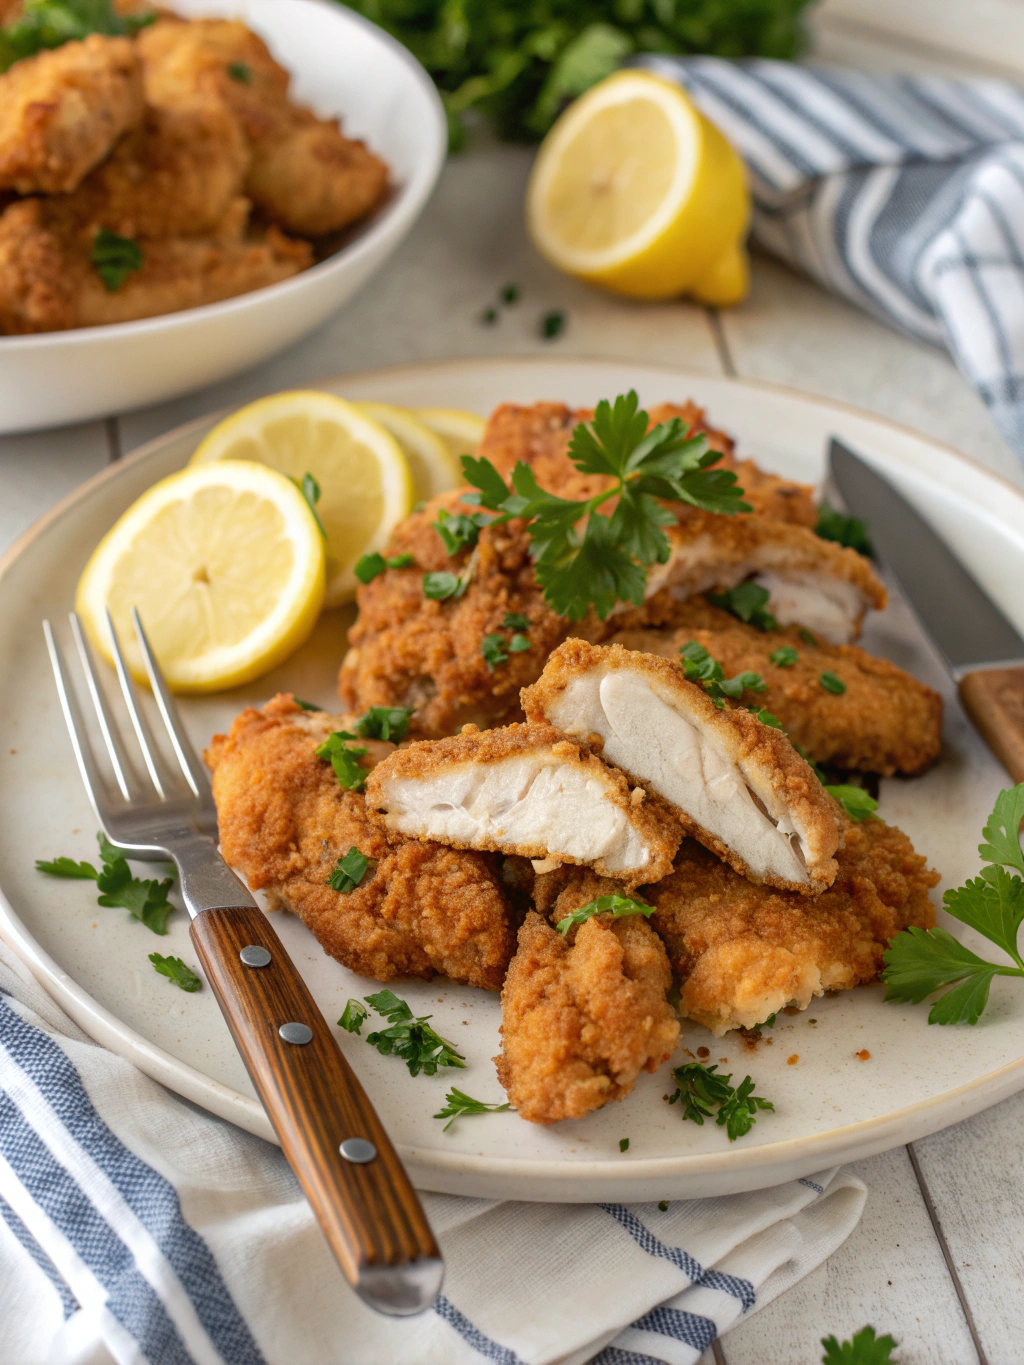
Have you ever wondered why restaurant-style fried chicken tenders always seem crispier and more flavorful than homemade versions? The secret lies in mastering a few crucial techniques that transform ordinary chicken into extraordinary comfort food. This comprehensive fried chicken tenders recipe will guide you through ten essential steps to achieve perfectly juicy, golden-brown chicken tenders every single time. Whether you’re cooking for picky eaters or hosting a casual gathering, these techniques will elevate your chicken game significantly.
Fried chicken tenders have become a beloved staple in American cuisine, appealing to both children and adults alike. The combination of tender, juicy meat encased in a perfectly seasoned, crispy coating creates an irresistible texture contrast. This recipe breaks down the entire process into manageable steps, ensuring success even for beginner cooks.
Table of Contents
Ingredients List
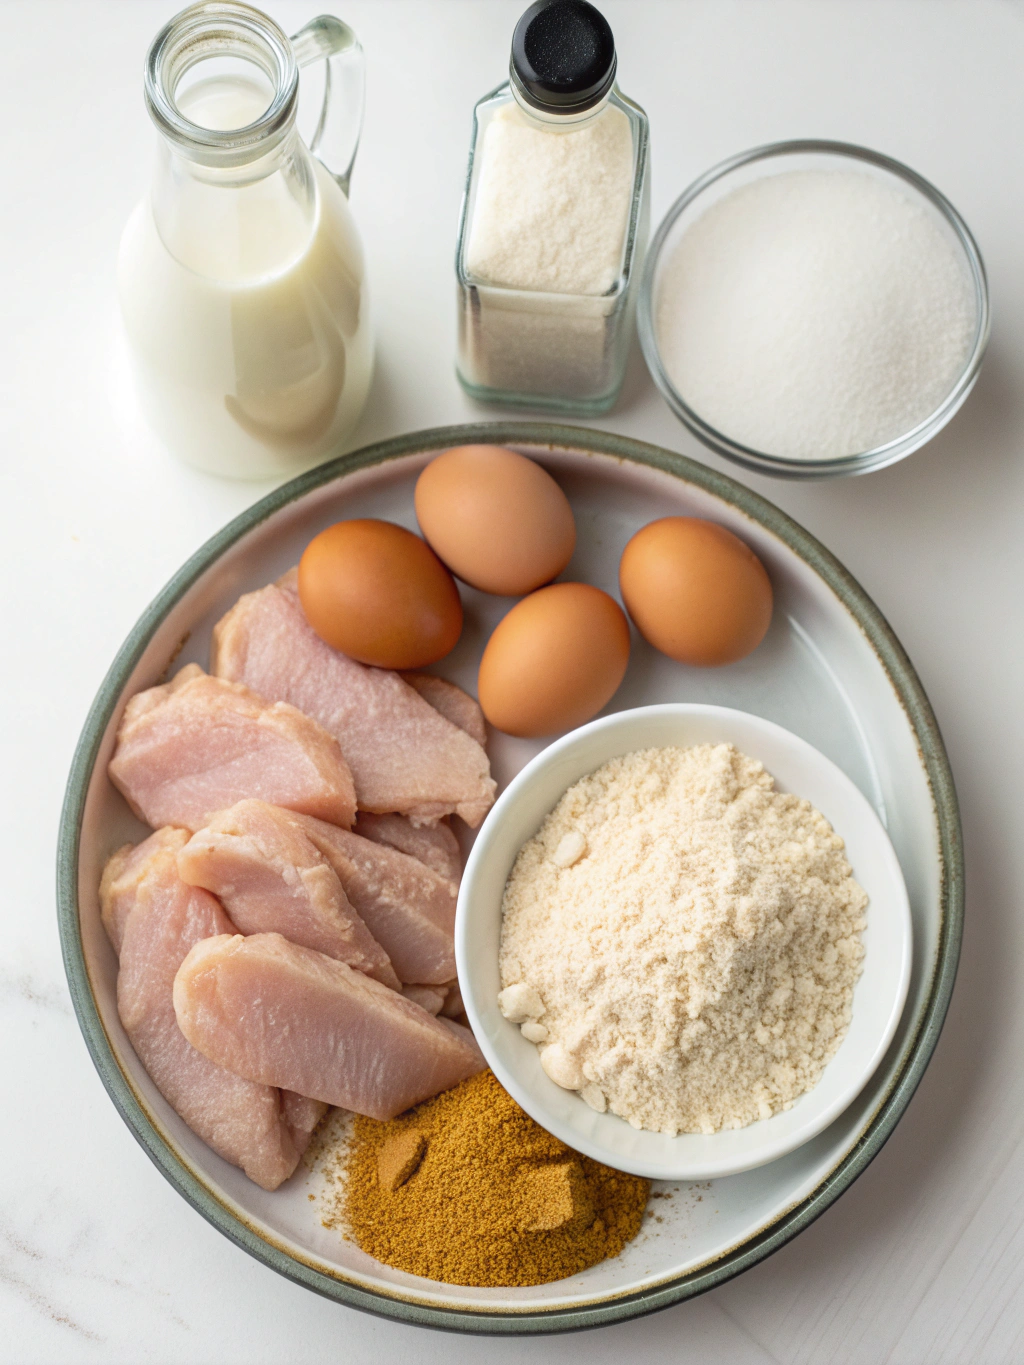
Gathering high-quality ingredients is the foundation of any exceptional fried chicken tenders recipe. Each component plays a specific role in creating the perfect balance of flavor and texture.
- 2 pounds chicken tenderloins – You can substitute with chicken breast cut into strips if tenderloins aren’t available
- 2 cups buttermilk – Regular milk with 2 tablespoons lemon juice works as an alternative
- 2 cups all-purpose flour – For gluten-free options, use a 1:1 gluten-free baking flour
- 1 tablespoon garlic powder – Adds aromatic depth to the coating
- 1 tablespoon onion powder – Enhances savory notes throughout
- 2 teaspoons paprika – Provides color and subtle smokiness
- 1 teaspoon cayenne pepper – Adjust according to heat preference
- 2 teaspoons salt – Essential for proper seasoning
- 1 teaspoon black pepper – Freshly ground offers best flavor
- 2 large eggs – Helps create adhesion for the coating
- Vegetable oil for frying – Peanut or canola oil are excellent alternatives with high smoke points
The buttermilk marinade is crucial for tenderizing the chicken while adding tangy flavor. The flour mixture creates that signature crispy exterior that makes fried chicken tenders recipe so appealing. Fresh spices deliver more vibrant flavors than older pantry staples.
Timing
Understanding the time investment helps you plan your meal preparation effectively. This recipe requires approximately 4 hours and 30 minutes total, though most of that time is hands-off marinating.
Marinating Time: 4 hours (or overnight for maximum flavor)
Preparation Time: 15 minutes
Cooking Time: 15-20 minutes
Total Active Time: 30-35 minutes
This timing represents roughly 25% less active cooking time compared to traditional bone-in fried chicken recipes. The marinating period can be extended up to 24 hours for even more tender results. Planning ahead allows the buttermilk to work its magic, breaking down proteins for incredibly juicy chicken.
Step-by-Step Instructions
Step 1: Prepare the Buttermilk Marinade
Combine the buttermilk with one teaspoon of salt and half a teaspoon of black pepper in a large bowl. Whisk together until the salt dissolves completely. This acidic marinade tenderizes the chicken while infusing moisture deep into the meat fibers.
Add the chicken tenderloins to the buttermilk mixture, ensuring each piece is fully submerged. Cover the bowl with plastic wrap and refrigerate for at least 4 hours. The longer marination time allows enzymes to break down tough proteins effectively.
Step 2: Create the Seasoned Flour Mixture
In a shallow dish, combine the all-purpose flour with garlic powder, onion powder, paprika, cayenne pepper, and the remaining salt and pepper. Mix thoroughly using a whisk to distribute spices evenly throughout the flour.
This seasoning blend creates layers of flavor that penetrate through the crispy coating. Adjust the cayenne pepper based on your heat tolerance—reduce to half a teaspoon for milder tenders or increase to one tablespoon for spicy versions.
Step 3: Set Up Your Breading Station
Arrange three shallow dishes in a row: one with the seasoned flour, one with beaten eggs, and another with additional seasoned flour. This double-dredging technique creates an extra-thick, crunchy coating that stays attached during frying.
Beat the two eggs in the middle dish with two tablespoons of water. This egg wash acts as glue between the flour layers. Having your station organized before starting ensures smooth, efficient breading without messy interruptions.
Step 4: Remove Chicken from Marinade
Take the chicken tenderloins out of the refrigerator about 15 minutes before breading. Allowing them to come closer to room temperature ensures more even cooking throughout. Remove each piece from the buttermilk, letting excess liquid drip back into the bowl.
Don’t pat the chicken completely dry—some moisture helps the first flour layer adhere properly. The buttermilk residue creates a tacky surface that grabs onto the seasoned flour mixture effectively.
Step 5: Execute the Double-Dredge Technique
Coat each tenderloin first in the seasoned flour, pressing gently to ensure complete coverage. Shake off any excess flour, then dip into the egg wash, allowing excess to drip off. Finally, dredge again in the seasoned flour, pressing firmly to create a thick coating.
Place breaded tenders on a wire rack set over a baking sheet. Let them rest for 10-15 minutes before frying. This resting period allows the coating to set properly, reducing the chance of it falling off during cooking.
Step 6: Heat the Oil to Proper Temperature
Pour vegetable oil into a heavy-bottomed pot or deep fryer to a depth of about 3 inches. Heat the oil to exactly 350°F (175°C), using a thermometer to monitor temperature accurately. Proper oil temperature is critical for achieving crispy, non-greasy chicken.
Oil that’s too cool results in soggy, oil-saturated coating, while oil that’s too hot burns the exterior before the interior cooks through. Maintaining consistent temperature throughout frying ensures uniform results across all batches.
Step 7: Fry in Small Batches
Carefully lower 3-4 chicken tenders into the hot oil using tongs or a slotted spoon. Avoid overcrowding the pot, which drops oil temperature dramatically and prevents proper crisping. Fry for 5-7 minutes, turning occasionally for even browning.
The chicken is done when it reaches an internal temperature of 165°F (74°C) and displays a deep golden-brown color. Overcrowding is one of the most common mistakes that leads to disappointing results in any fried chicken tenders recipe.
Step 8: Monitor and Maintain Oil Temperature
Between batches, allow the oil to return to 350°F before adding more chicken. This usually takes 2-3 minutes depending on your heat source. Consistent temperature control separates restaurant-quality results from mediocre homemade attempts.
Adjust your burner heat as needed throughout the cooking process. Gas stoves may require frequent adjustments, while electric burners maintain temperature more steadily once properly calibrated.
Step 9: Drain Properly
Remove cooked tenders from the oil and place them on a wire rack set over a baking sheet lined with paper towels. This setup allows excess oil to drip away while air circulates around the chicken, preventing the bottom from becoming soggy.
Never place fried chicken directly on paper towels alone, as trapped steam softens the crispy coating you worked hard to create. The wire rack method keeps tenders crispy on all sides while they rest.
Step 10: Season Immediately and Serve
While the chicken is still hot, sprinkle with a light dusting of salt to enhance flavor. The residual heat helps the salt adhere and penetrate slightly into the coating. Serve immediately for the best textural experience and maximum enjoyment.
Hot, freshly fried chicken tenders deliver unmatched crispiness that diminishes as they cool. If serving a large group, keep finished batches warm in a 200°F oven on a wire rack until all chicken is cooked.
Nutritional Information
Understanding the nutritional profile helps you make informed dietary decisions. Per serving (approximately 4 ounces or 3-4 tenders), this recipe provides:
Calories: 380
Protein: 32g
Total Fat: 18g
Saturated Fat: 3g
Carbohydrates: 24g
Fiber: 1g
Sugar: 2g
Sodium: 680mg
Cholesterol: 125mg
Chicken tenderloins are naturally lean, providing high-quality protein with relatively low fat content before breading and frying. The breading and frying process adds approximately 150-180 calories compared to grilled or baked preparations. The buttermilk marinade contributes calcium and beneficial probiotics to the dish.
These values can vary based on oil absorption, which depends on frying temperature and technique. Properly fried chicken at the correct temperature absorbs significantly less oil than chicken fried at lower temperatures.
Healthier Alternatives for the Recipe
You can modify this recipe to align with various dietary preferences without sacrificing too much flavor or texture. Air frying reduces oil content by approximately 70-80% while still achieving satisfying crispiness.
For air frying, spray breaded tenders lightly with cooking oil and cook at 400°F for 12-15 minutes, flipping halfway through. The results won’t be identical to deep-frying but offer a worthy compromise for health-conscious eaters.
Substitute whole wheat flour or almond flour for half the all-purpose flour to increase fiber and nutrient content. Use Greek yogurt thinned with milk instead of buttermilk for higher protein and lower fat. These swaps maintain the tenderizing effect while boosting nutritional value.
Baking is another option—arrange breaded tenders on a greased wire rack over a baking sheet and bake at 425°F for 20-25 minutes. Spray with cooking oil halfway through for enhanced browning. This method produces crispy chicken with minimal added fat.
For gluten-free versions, use certified gluten-free flour blends and ensure all seasonings are gluten-free certified. Crushed gluten-free cornflakes or rice cereal can replace some flour for added crunch and texture variation.
Serving Suggestions
Presentation and accompaniments elevate fried chicken tenders from simple comfort food to a complete, satisfying meal. Serve with classic honey mustard, ranch dressing, or barbecue sauce for dipping. Homemade sauces take the experience to another level.
Create a chicken tender platter with various dipping sauces, coleslaw, pickles, and fresh lemon wedges. This setup works beautifully for casual gatherings or game-day celebrations. The variety allows guests to customize their experience according to personal preferences.
Transform tenders into a complete dinner by pairing with creamy mashed potatoes, mac and cheese, or seasoned french fries. Add a fresh garden salad or steamed vegetables to balance the richness of fried chicken.
For a Southern-inspired meal, serve alongside buttermilk biscuits, collard greens, and sweet tea. The combination of flavors and textures creates a comforting, nostalgic dining experience. Drizzle with hot honey for a trendy sweet-and-spicy twist.
Make chicken tender sandwiches by placing them on toasted brioche buns with lettuce, tomato, pickles, and your favorite sauce. This presentation appeals to both children and adults while making the meal feel more substantial.
Common Mistakes to Avoid
Learning from typical errors helps you achieve perfect results on your first attempt. These pitfalls can significantly impact the final quality of your chicken tenders.
- Skipping the marinade: The buttermilk soak is essential for tenderness and flavor—don’t rush this step even if you’re short on time.
- Incorrect oil temperature: Too hot burns the coating before cooking the meat; too cool creates greasy, soggy results. Always use a thermometer.
- Overcrowding the pan: This drops oil temperature dramatically and prevents proper browning. Patience with small batches yields superior results.
- Not seasoning the flour adequately: Bland coating ruins even perfectly cooked chicken. Be generous with seasonings in the flour mixture.
- Skipping the resting period: Letting breaded chicken rest before frying helps the coating adhere better and reduces shedding during cooking.
- Using chicken straight from the refrigerator: Cold chicken cooks unevenly, with overcooked exteriors and undercooked centers. Allow 15-20 minutes at room temperature.
- Reusing oil too many times: Degraded oil affects flavor and creates unhealthy compounds. Strain and store properly, but replace after 3-4 uses maximum.
- Not draining properly: Placing fried chicken on paper towels alone traps steam and softens the coating. Always use a wire rack.
Storing Tips for the Recipe
Proper storage extends the life of your fried chicken tenders while maintaining quality. Store cooled leftovers in an airtight container lined with paper towels to absorb excess moisture. Refrigerate for up to 3-4 days for best quality and food safety.