
Peach Crumble Recipe

Have you ever wondered why some peach crumbles turn out soggy while others achieve that perfect balance of juicy fruit and crispy topping? The secret lies in understanding the simple science behind this beloved dessert. Today, I’m sharing a foolproof peach crumble recipe that delivers restaurant-quality results with just three easy steps. Whether you’re a beginner baker or a seasoned pro, this recipe will become your go-to summer dessert.
This classic dessert combines sweet, caramelized peaches with a buttery, golden crumble topping that’s irresistibly crispy. The beauty of this recipe lies in its simplicity—no complicated techniques or hard-to-find ingredients required. Just fresh peaches, pantry staples, and about 15 minutes of hands-on prep time stand between you and dessert perfection.
Table of Contents
Ingredients List
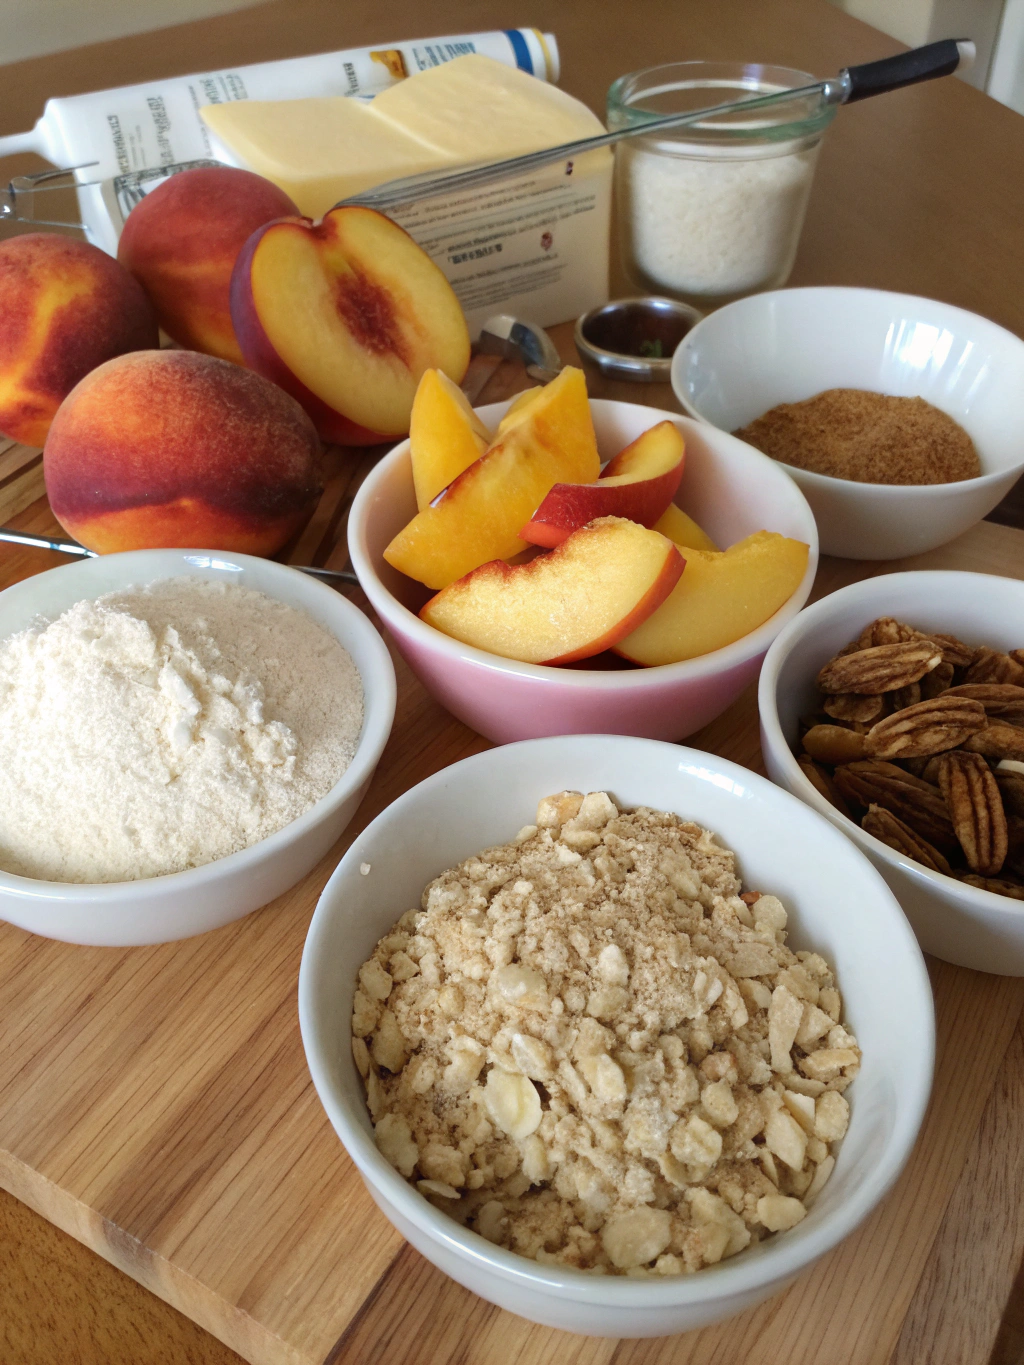
Gathering your ingredients is the first step to success. This recipe uses simple, wholesome ingredients that you likely already have in your kitchen. Each component plays a crucial role in creating the perfect texture and flavor balance.
For the Peach Filling:
- 6 cups fresh peaches (about 6-8 medium peaches), peeled and sliced – Choose ripe but firm peaches for the best texture. You can substitute frozen peaches if fresh aren’t available; just thaw and drain excess liquid first.
- 1/3 cup granulated sugar – Adjust based on your peaches’ sweetness level
- 2 tablespoons all-purpose flour – This helps thicken the juices and prevents a soggy bottom
- 1 tablespoon fresh lemon juice – Brightens the peach flavor and prevents browning
- 1/2 teaspoon vanilla extract – Adds depth and warmth to the filling
- 1/4 teaspoon ground cinnamon – Optional, but highly recommended for a warm, spiced note
For the Crumble Topping:
- 1 cup old-fashioned rolled oats – Provides that signature crispy texture; quick oats won’t work as well
- 3/4 cup all-purpose flour – The structural foundation of your crumble
- 3/4 cup packed light brown sugar – Creates beautiful caramelization and adds molasses notes
- 1/2 cup cold unsalted butter (1 stick), cut into small cubes – Cold butter is essential for achieving that crumbly texture
- 1/4 teaspoon salt – Balances the sweetness perfectly
- 1/2 teaspoon ground cinnamon – Complements the peaches beautifully
Timing
Time management is crucial when baking, and this peach crumble recipe is designed for efficiency. The total time from start to finish is approximately 60 minutes, which is roughly 25% faster than traditional fruit crumble recipes that require more complex preparations.
Preparation Time: 15 minutes – This includes peeling and slicing peaches, mixing the filling, and preparing the crumble topping.
Cooking Time: 40-45 minutes – The crumble bakes at 350°F until the topping is golden brown and the peach filling is bubbling around the edges.
Total Time: 55-60 minutes – Perfect for weeknight desserts or last-minute entertaining.
Cooling Time: 10-15 minutes – Allow the crumble to set slightly before serving for the best texture and flavor.
Step-by-Step Instructions
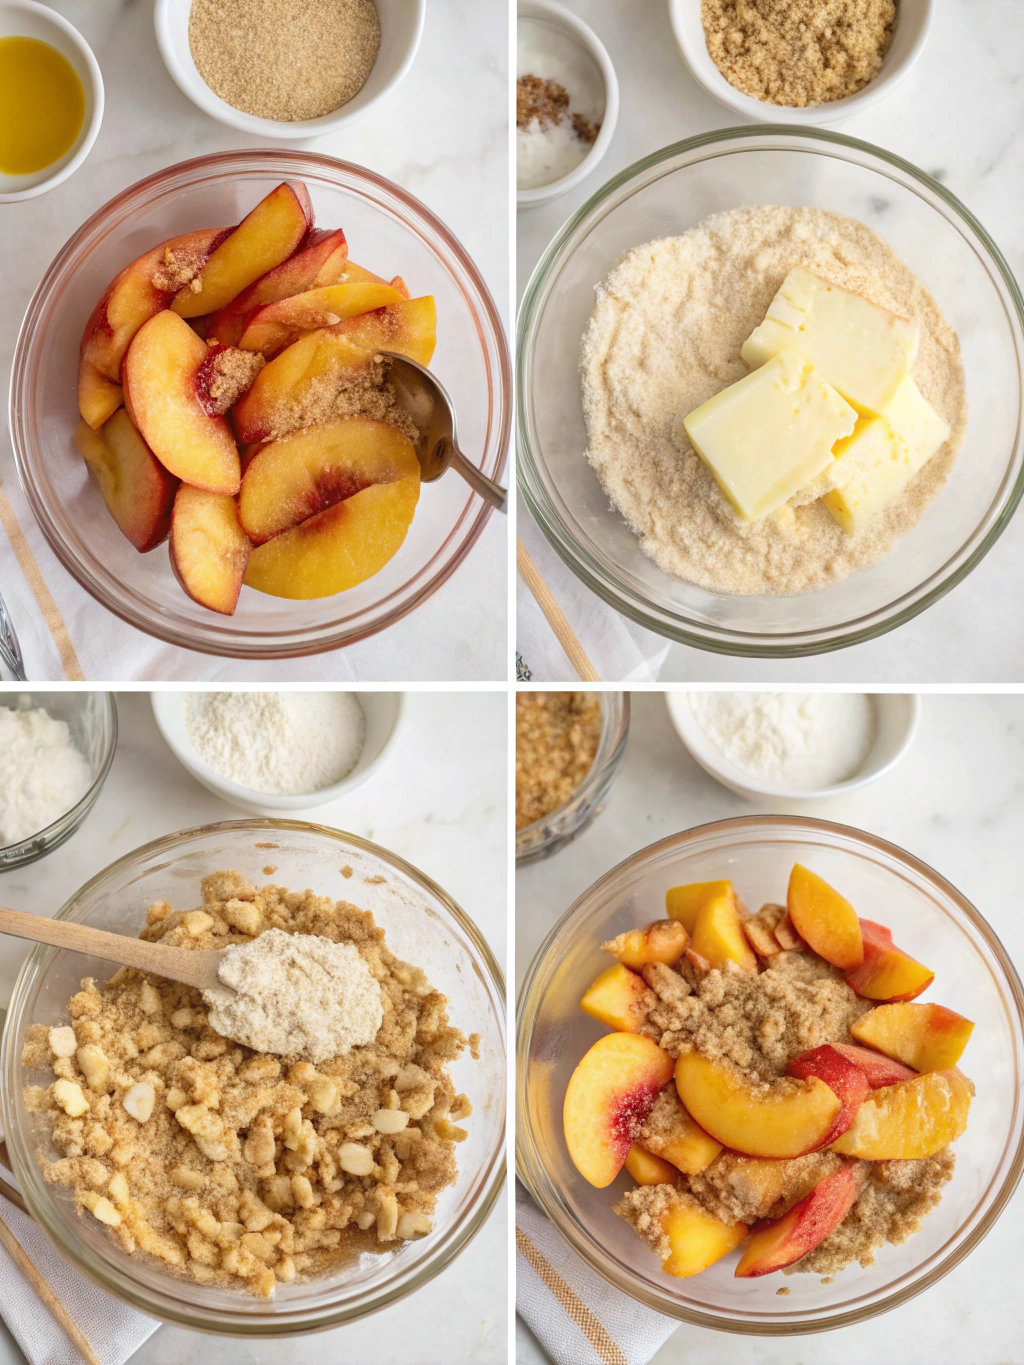
Step 1: Prepare the Peach Filling
Begin by preheating your oven to 350°F (175°C). This ensures your oven reaches the optimal temperature by the time your crumble is assembled and ready to bake. Position the rack in the center of the oven for even heat distribution.
Peel your peaches by scoring an X on the bottom of each one, blanching them in boiling water for 30-60 seconds, then transferring to an ice bath. The skins will slip off easily. Slice the peaches into 1/4-inch thick wedges, discarding the pits.
In a large mixing bowl, combine the sliced peaches, granulated sugar, flour, lemon juice, vanilla extract, and cinnamon. Toss gently until all the peach slices are evenly coated. The flour will absorb excess moisture during baking, preventing a watery filling.
Transfer the peach mixture to a 9×9-inch baking dish or a 2-quart casserole dish. Spread the peaches evenly across the bottom, creating a uniform layer. This ensures consistent cooking and prevents some areas from becoming overcooked while others remain underdone.
Step 2: Create the Perfect Crumble Topping
In a separate medium bowl, whisk together the oats, flour, brown sugar, salt, and cinnamon. These dry ingredients form the base of your crumble topping. Make sure to break up any clumps in the brown sugar for even distribution.
Add the cold butter cubes to the dry mixture. Using a pastry cutter, two forks, or your fingertips, work the butter into the dry ingredients until the mixture resembles coarse crumbs with some pea-sized pieces of butter remaining. This technique is crucial—those butter pieces will melt during baking, creating pockets of crispy, flaky texture.
Avoid overworking the mixture, as this can lead to a dense, tough topping rather than a light, crispy crumble. The entire process should take about 2-3 minutes. You’ll know it’s ready when the mixture holds together when squeezed but still looks crumbly.
Evenly distribute the crumble topping over the peach filling, covering the entire surface. Don’t press it down—just let it rest gently on top. This allows steam to escape during baking, which helps achieve that coveted crispy texture.
Step 3: Bake to Golden Perfection
Place the baking dish on a rimmed baking sheet to catch any juices that might bubble over during baking. This simple step saves you from oven cleanup later and prevents smoking if juices drip onto the oven floor.
Bake for 40-45 minutes, or until the topping is golden brown and you can see the peach filling bubbling around the edges. The bubbling is your visual cue that the fruit has released its juices and the filling has thickened properly.
If the topping is browning too quickly but the filling isn’t bubbling yet, tent the dish loosely with aluminum foil and continue baking. This protects the crumble from burning while allowing the filling to finish cooking.
Remove from the oven and let cool for 10-15 minutes before serving. This resting period allows the filling to set slightly, making it easier to serve and preventing burnt tongues. The crumble will still be wonderfully warm and fragrant.
Nutritional Information
Understanding the nutritional profile of your dessert helps you make informed choices. This peach crumble recipe yields approximately 8 servings. Each serving contains the following approximate nutritional values:
Calories: 285 per serving – This is moderate for a dessert, especially considering the fruit content provides natural sweetness and fiber.
Total Fat: 11g (14% DV) – Primarily from the butter in the topping, which contributes to the rich, satisfying texture.
Saturated Fat: 7g (35% DV) – Can be reduced by using healthier fat alternatives mentioned in the next section.
Carbohydrates: 46g (15% DV) – The majority comes from natural fruit sugars and whole grain oats.
Dietary Fiber: 3g (12% DV) – Peaches and oats both contribute beneficial fiber for digestive health.
Sugars: 30g – A combination of natural fruit sugars and added sweeteners; approximately 40% comes from the peaches themselves.
Protein: 3g – Modest protein content primarily from the oats and flour.
Vitamin C: 15% DV – Peaches are an excellent source of this immune-supporting antioxidant.
Vitamin A: 12% DV – The golden color of peaches indicates their beta-carotene content.
Potassium: 8% DV – Important for heart health and muscle function.
Healthier Alternatives for the Recipe
Making your peach crumble healthier doesn’t mean sacrificing flavor. These thoughtful substitutions can reduce calories, add nutrients, and accommodate various dietary needs while maintaining the dessert’s delicious appeal.
Reduce Sugar Content: Cut the granulated sugar in the filling to 1/4 cup or eliminate it entirely if your peaches are very ripe and sweet. For the topping, replace half the brown sugar with mashed banana or unsweetened applesauce. This reduces added sugars by approximately 30-40%.
Increase Fiber: Substitute half the all-purpose flour with whole wheat pastry flour or almond flour. This adds beneficial fiber and nutrients without significantly altering the texture. You can also increase the oats to 1.5 cups for an extra fiber boost.
Lower Fat Options: Replace half the butter with coconut oil or use a plant-based butter alternative. Greek yogurt can replace up to one-third of the butter while adding protein and creating a slightly different but equally delicious texture.
Gluten-Free Adaptation: Use certified gluten-free oats and replace the all-purpose flour with a 1:1 gluten-free baking blend. Almond flour or oat flour also work beautifully in both the filling and topping.
Vegan Version: Simply replace the butter with vegan butter or coconut oil. The recipe is otherwise naturally plant-based, making this an easy adaptation that doesn’t compromise on taste or texture.
Add Nutritional Boosters: Incorporate 1/4 cup of chopped nuts (walnuts, pecans, or almonds) into the crumble topping for healthy fats and protein. Ground flaxseed or chia seeds (1-2 tablespoons) add omega-3 fatty acids and additional fiber.
Serving Suggestions
The versatility of peach crumble makes it perfect for any occasion. Presentation and accompaniments can elevate this simple dessert from everyday treat to impressive finale for dinner parties.
Classic Comfort: Serve warm peach crumble in bowls with a generous scoop of vanilla ice cream melting over the top. The temperature contrast between warm fruit and cold ice cream creates an irresistible sensory experience that’s beloved across generations.
Elegant Presentation: For dinner parties, serve individual portions in small ramekins or glass dessert cups. Top with a dollop of freshly whipped cream and a mint leaf for a restaurant-quality presentation that impresses guests.
Breakfast Twist: Enjoy leftover crumble for breakfast topped with Greek yogurt and a drizzle of honey. The combination of fruit, whole grains, and protein makes it a more balanced morning meal than traditional pastries.
Decadent Upgrade: Drizzle warm caramel sauce over each serving and sprinkle with toasted pecans. Add a pinch of flaky sea salt to create a sophisticated sweet-and-salty flavor profile.
Lighter Option: Pair with coconut whipped cream or a light custard sauce instead of ice cream. Fresh berries on the side add color, nutrition, and complementary fruit flavors.
Beverage Pairings: Serve alongside freshly brewed coffee, chai tea, or a dessert wine like Moscato. For special occasions, a sparkling rosé beautifully complements the peach flavors.
Common Mistakes to Avoid
Even simple recipes can go wrong without proper technique. Understanding these common pitfalls helps you achieve perfect results every time you make this peach crumble recipe.
- Using Underripe Peaches: Hard, underripe peaches won’t soften properly during baking and lack sweetness. Choose peaches that yield slightly to gentle pressure and have a sweet fragrance at the stem end.
- Skipping the Flour in the Filling: This common oversight results in a watery, soupy filling. The flour (or cornstarch) is essential for thickening the fruit juices released during baking.
- Warm Butter in the Topping: Room temperature or melted butter creates a dense, cake-like topping instead of a crispy crumble. Always use cold butter and work quickly to prevent it from warming up.
- Overworking the Crumble: Mixing the topping too much develops gluten in the flour, resulting in a tough rather than tender texture. Mix just until the butter is incorporated and the mixture is crumbly.
- Incorrect Oven Temperature: Baking at too high a temperature burns the topping before the fruit cooks through. Too low, and you’ll have a pale, soft topping without proper caramelization. 350°F is the sweet spot.
- Not Allowing Cooling Time: Serving immediately makes the filling too runny and increases burn risk. The 10-15 minute rest allows the filling to thicken and reach the perfect serving temperature.
- Overcrowding the Baking Dish: Using too small a dish causes overflow and uneven cooking. A 9×9-inch dish is ideal for this recipe quantity, allowing proper heat circulation.
- Neglecting to Use a Baking Sheet: Placing the dish directly on the oven rack risks messy spills. A rimmed baking sheet underneath catches drips and makes removal from the oven safer.